pgAdmin is a freely available administration and management tool for the Postgres Database. It provides numerous features, such as a user-friendly graphical interface, local and remote session management, compatibility with all Postgres versions, etc.
When you install Postgres on the Windows operating system, "pgAdmin" is installed by default. However, in Ubuntu, you have to install it manually.
This post presents a practical demonstration of how to install pgAdmin on Ubuntu.
How to Install pgAdmin on Ubuntu?
You must follow the below-given step-by-step instructions to install pgAdmin on the ubuntu operating system:
Prerequisite
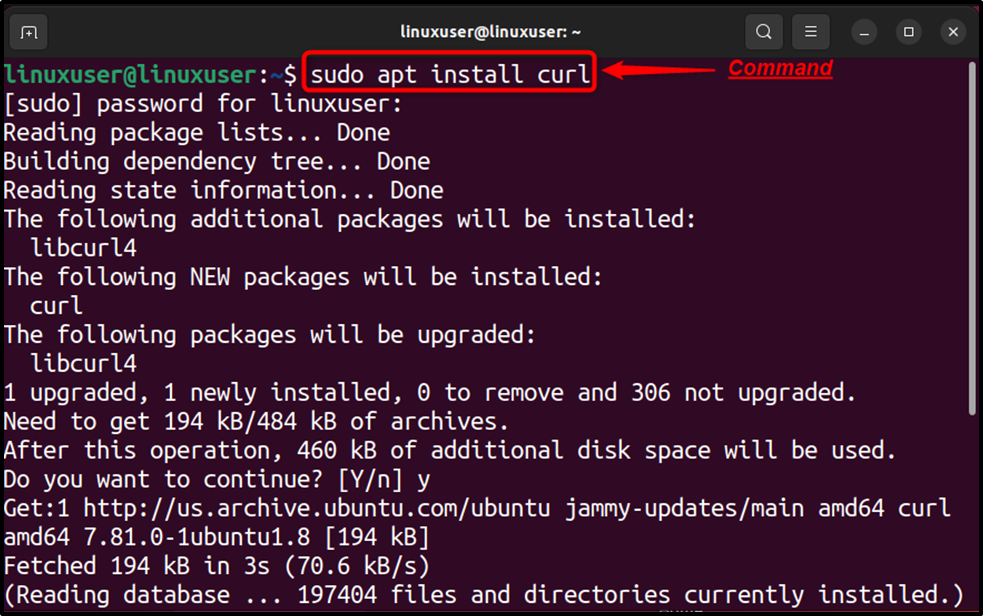
“curl” is a command line utility that helps us transfer data from one server to another. The “curl” utility must be pre-installed on Ubuntu in order to install pgAdmin. Execute the following command if curl isn't yet installed on your system:
sudo apt install curl
Once the “curl” is successfully installed on your Ubuntu machine, you can install pgAdmin without any obstacles.
Step 1: Add Public Key Using Curl
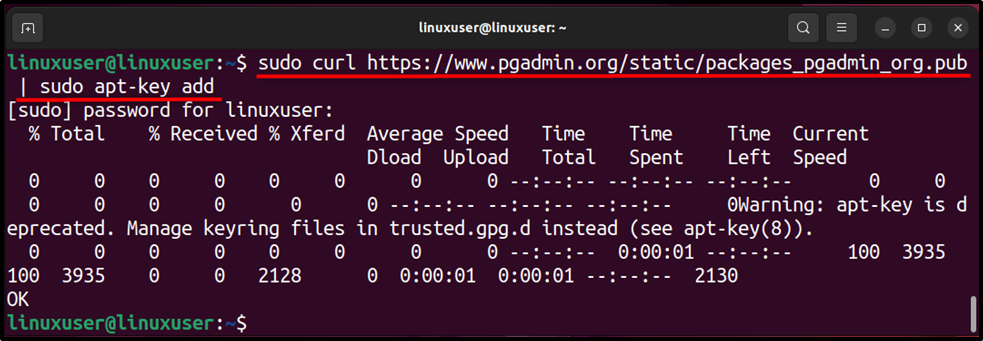
pgAdmin cannot be installed without the public key, because it isn't available/listed in the Ubuntu repositories. Therefore, first, we need to add the public key for the repository using the following command:
sudo curl https://www.pgadmin.org/static/packages_pgadmin_org.pub | sudo apt-key add
Step 2: Add pgAdmin Repository and Update Server’s Packages
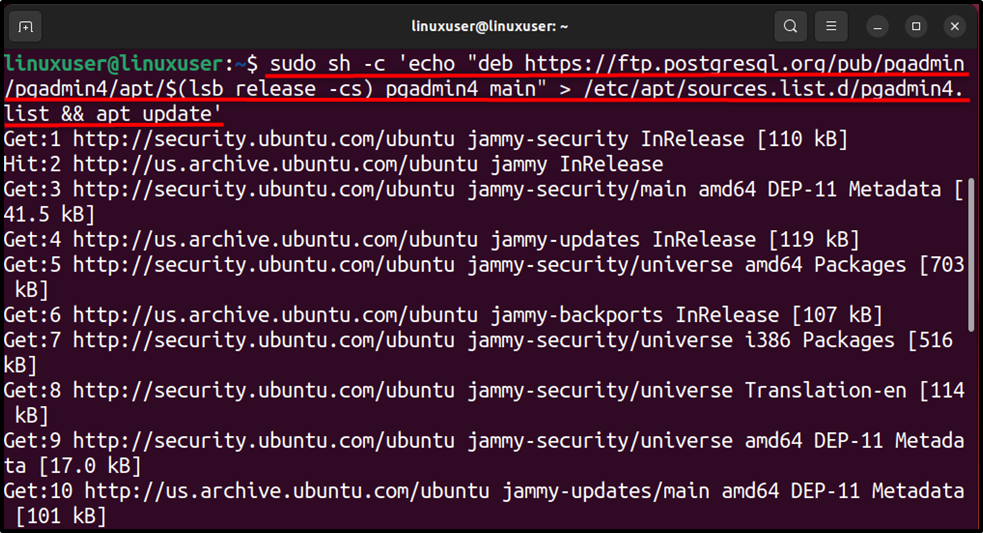
Executing the below-provided command will add the pgAdmin repository and update the server’s packages:
sudo sh -c 'echo "deb https://ftp.postgresql.org/pub/pgadmin/pgadmin4/apt/$(lsb_release -cs) pgadmin4 main" > /etc/apt/sources.list.d/pgadmin4.list && apt update'
Step 3: Install pgAdmin
Now execute the following “sudo” command to install pgAdmin on your system:
sudo apt install pgadmin4
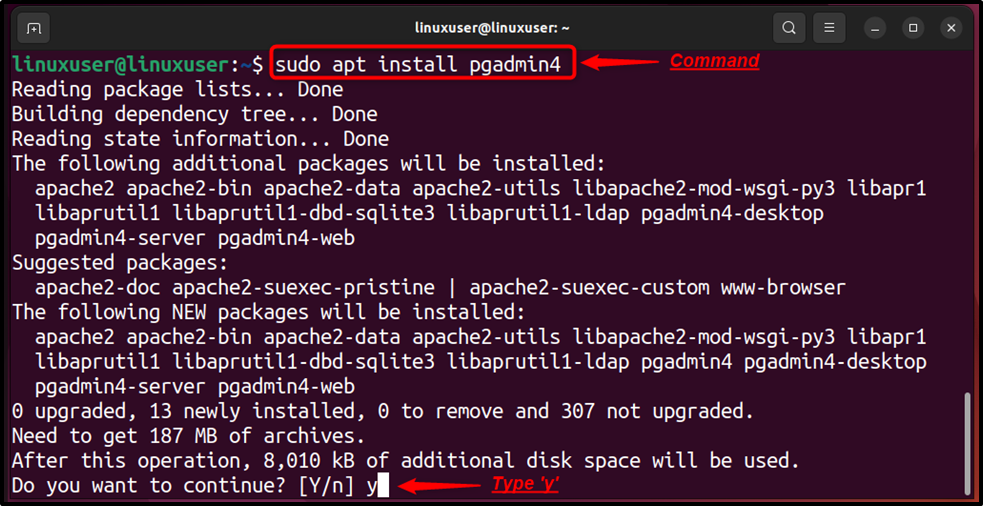
Type “y” and press the “ENTER” button to proceed the further installation:
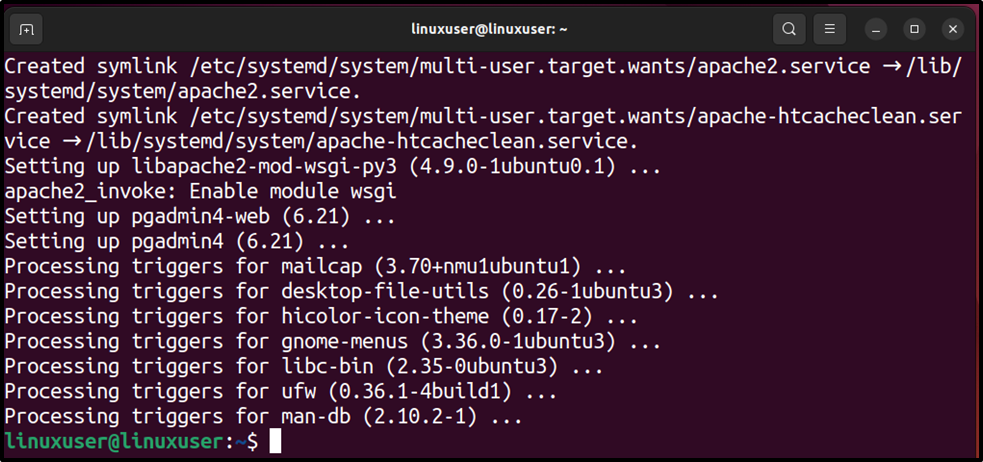
Finally, the pgAdmin4 has been successfully installed on Ubuntu 22.04.
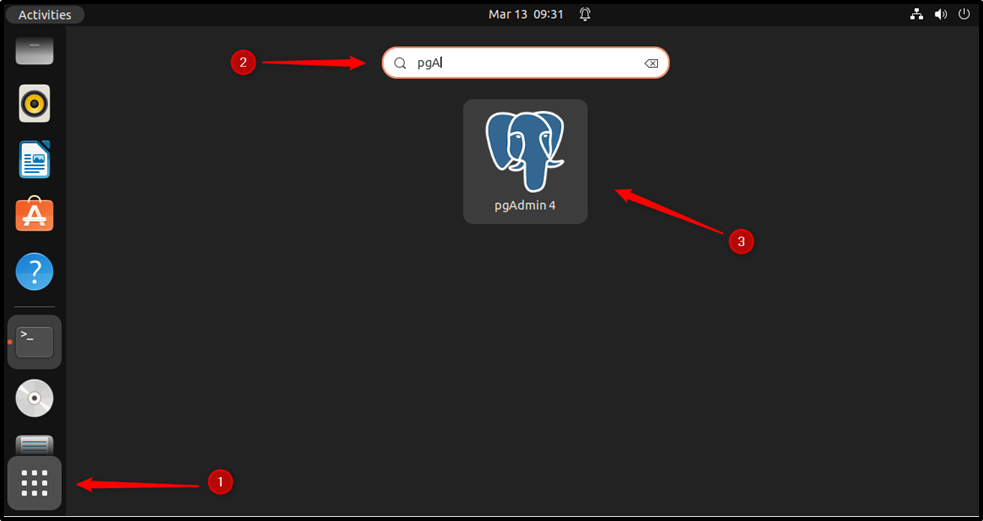
Step 4: Launch pgAdmin
Now click on the “Show Applications” button, type “pgAdmin” in the search bar, and left-click on the “pgAdmin4” application to launch it:
Clicking on the “pgAmin4” will lead you to the following window:

Specify the master password and hit the “OK” button.
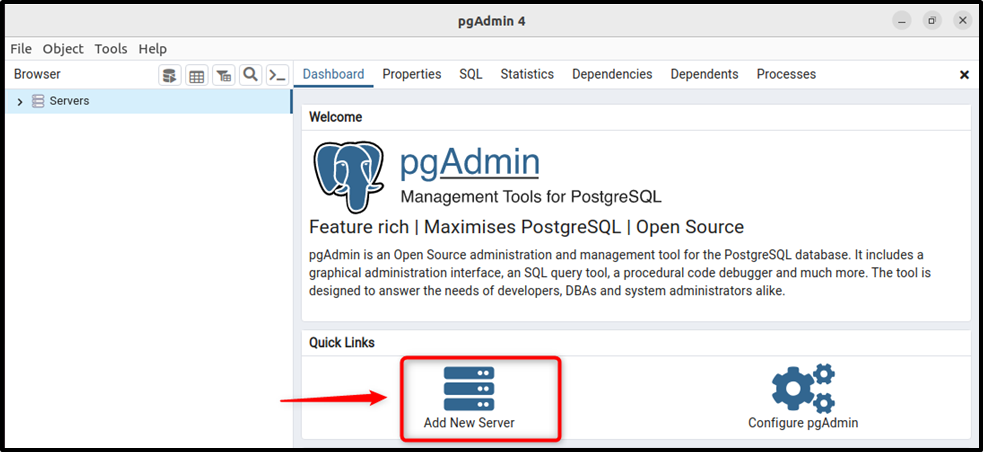
Step 5: Add New Server
To add a new server, you must click on the “Add New Server” button, as shown in the following snippet:
Specify the server’s name and navigate to the “Connection” tab:
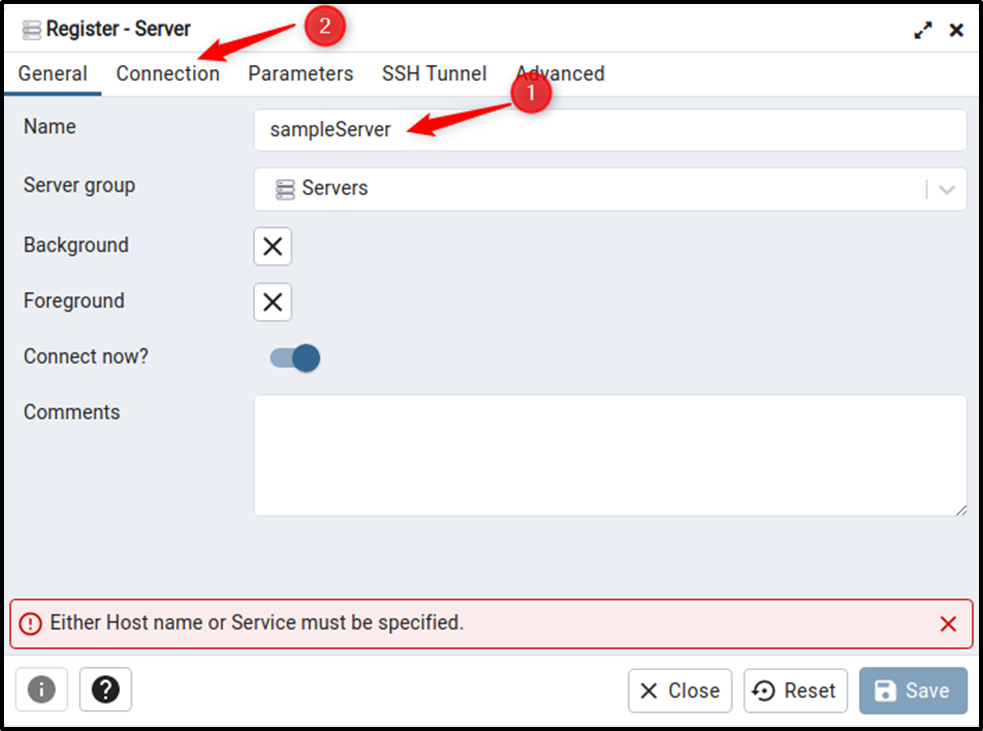
Specify the details like hostname, password, etc. under the “Connection” tab and hit the “Save” button:

Clicking on the save button will show you the following window:

The above snippet depicts that the new server has been successfully added.
Step 6: Check Postgres Version
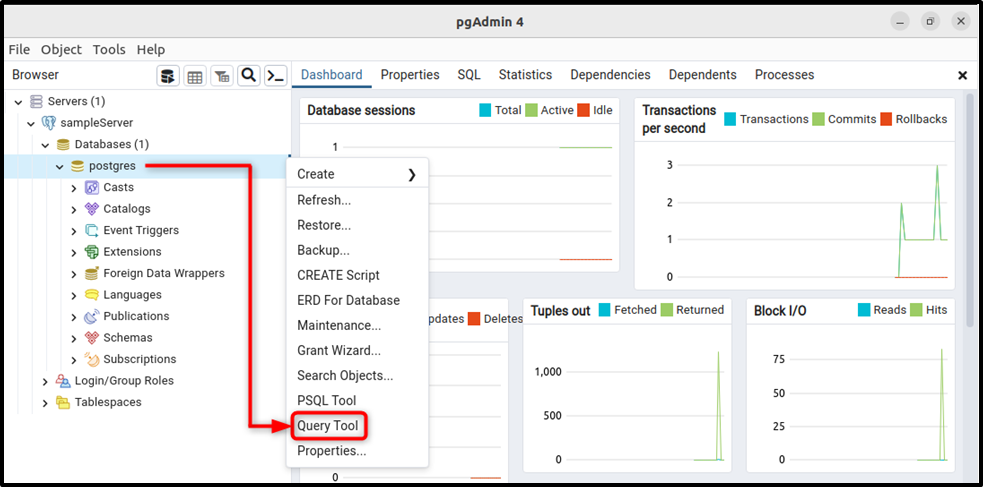
Expand the “Databases” tab, select a database, right-click on it, and select the “Query Tool”:
Use the “VERSION()” function to check the currently installed Postgres version on Ubuntu:
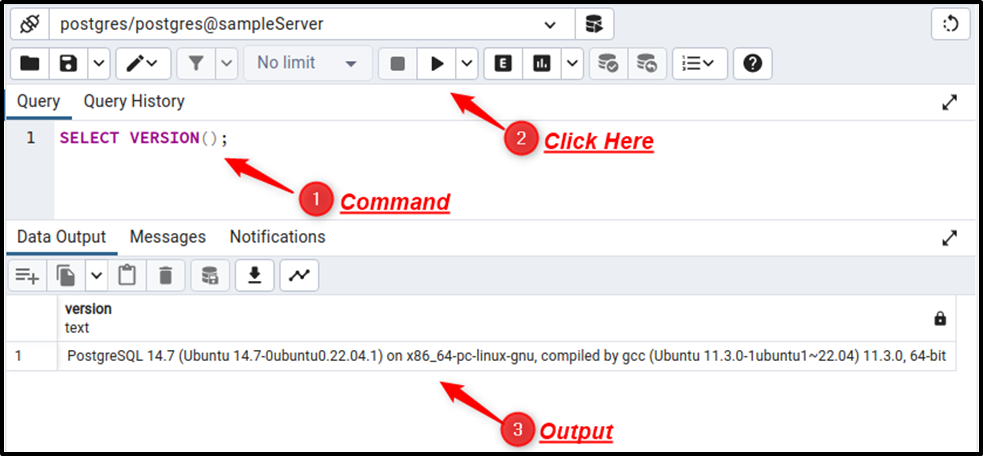
The output shows that the “PostgreSQL 14.7” is running on our Ubuntu machine.
Conclusion
To install pgAdmin on Ubuntu, add the public key using Curl, add the pgAdmin repository using sudo, and execute the “sudo apt install pgAdmin4” command. “curl” is a command line utility and it is a prerequisite for the pgAdmin installation. So, it must be pre-installed on Ubuntu in order to install pgAdmin. This write-up presented step-by-step instructions to install pgAdmin4 on Ubuntu.