
PostgreSQL offers an “ALTER SCHEMA” statement that is used to modify the schema’s definition, such as altering the schema’s owner, renaming a schema, and so on. In order to modify the schema’s definition, you must own that schema.
This write-up will teach you how to change the schema’s owner and how to rename a schema in PostgreSQL using the ALTER SCHEMA statement. So, let’s start.
How to Change Schema’s Owner Using ALTER SCHEMA Statement in Postgres?
In PostgreSQL, the ALTER SCHEMA statement is used with the collaboration of the OWNER TO clause to change the schema’s owner. To do so, follow the below syntax:
ALTER SCHEMA schema_name
OWNER TO new_owner;
In the above syntax, the “schema_name” represents the schema to be altered while “new_owner” represents the name of the new owner.
The below-listed steps will help you understand the working of ALTER SCHEMA statement:
Step 1: Launch SQL Shell
Firstly, open the SQL Shell(psql) and provide the necessary details like user name, password, etc.:

Hit the “enter” button to proceed further.
Step 2: Show Available Schemas
Run the “\dn” command to get the list of available schemas:
\dn;
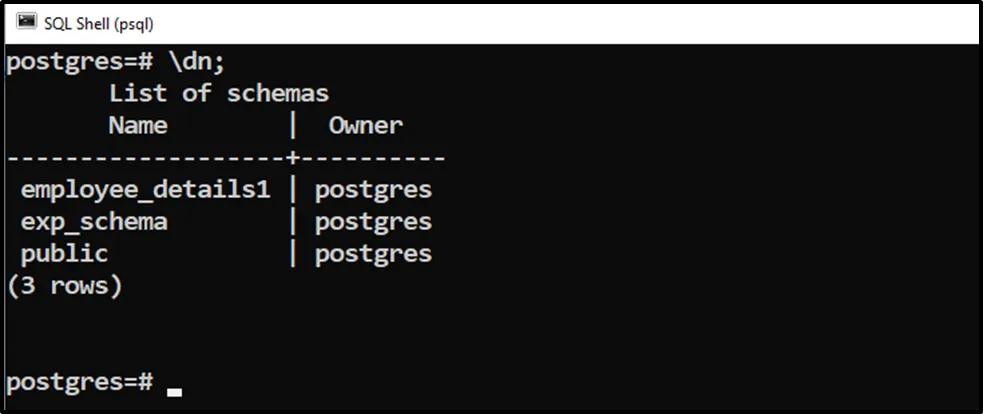
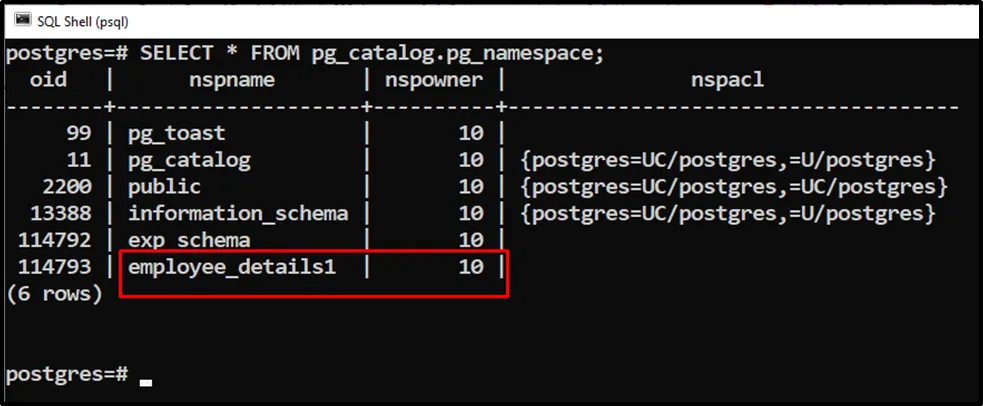
Output shows the schema's names and their owners. Alternatively, you can run the below command to check the schema’s owner:
SELECT * FROM pg_catalog.pg_namespace;
Step 3: Show Available Users
Let’s run the “\du” command to see the available users:
\du

Step 4: Change Owner
Suppose we want to change the owner of the “employee_details1” schema from “postgres” to “command_prompt”. To do so, we will execute the following command:
ALTER SCHEMA employee_details1 OWNER TO command_prompt;

The “ALTER SCHEMA” message in the output proves that the selected schema has been altered successfully.
Step 5: Verify The Owner
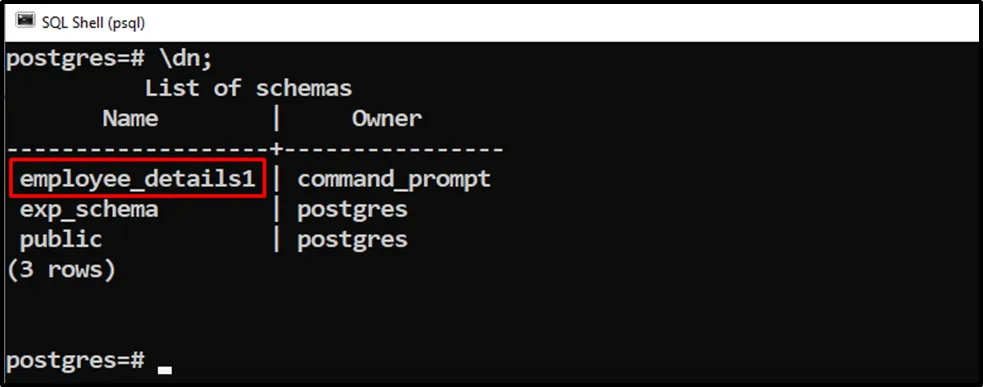
Let’s run the “\dn” command to verify the working of “ALTER TABLE” and “OWNER TO” statements:
\dn
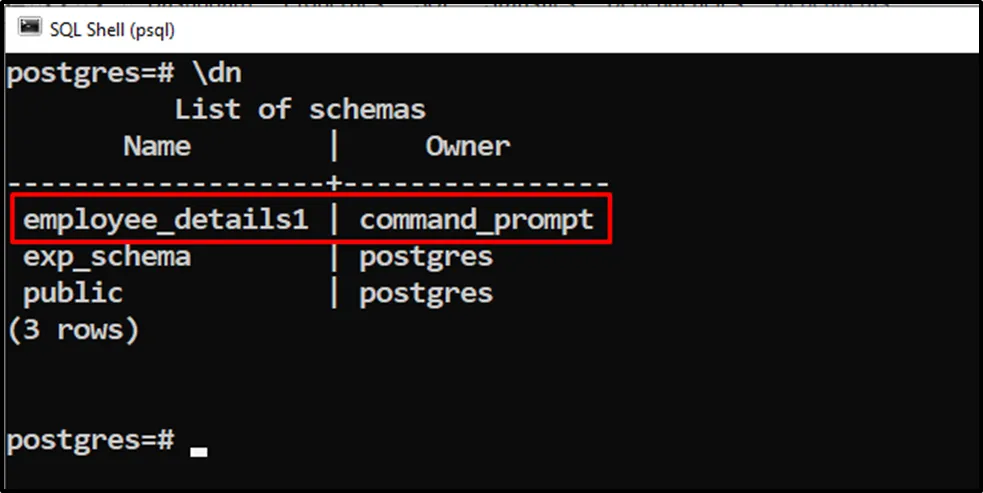
The output shows that the schema owner has been successfully changed from “postgres” to “command_prompt”.
Alternatively, you can verify the schema’s owner via the following command:
SELECT * FROM pg_catalog.pg_namespace;
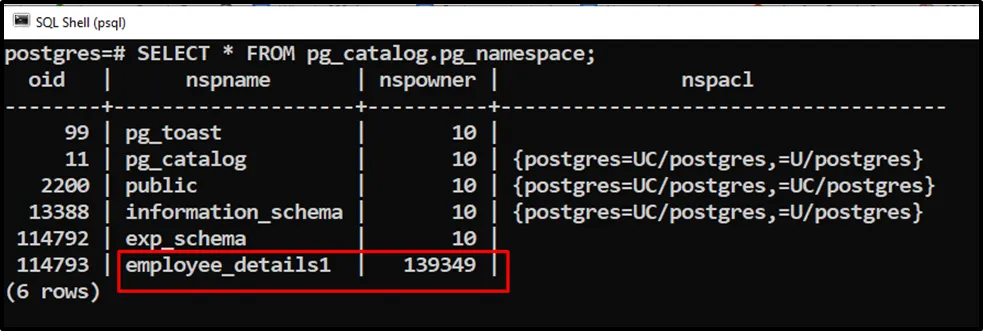
The output authenticates the working of the ALTER SCHEMA statement.
How to Rename a Schema Using ALTER SCHEMA Statement in Postgres?
In PostgreSQL, the ALTER SCHEMA statement is used along with the RENAME TO clause to modify the schema’s name. To do so, follow the below syntax:
ALTER SCHEMA schema_name
RENAME TO new_name;
The “schema_name” is the schema to be altered while “new_name” represents the new/modified name of the schema.
Step 1: Check Available Schemas
The below command will show the list of available schemas:
\dn;
Let’s rename the “employee_details1” schema.
Step 2: Rename Schema
Let’s use the following command to rename the “employee_details1” schema to “emp_info”:
ALTER SCHEMA employee_details1 RENAME TO emp_info;

The “ALTER SCHEMA” message proves that the targeted schema has been altered successfully.
Step 3: Verify Schema Name
Let’s run the below command to verify the modified schema’s name:
\dn;
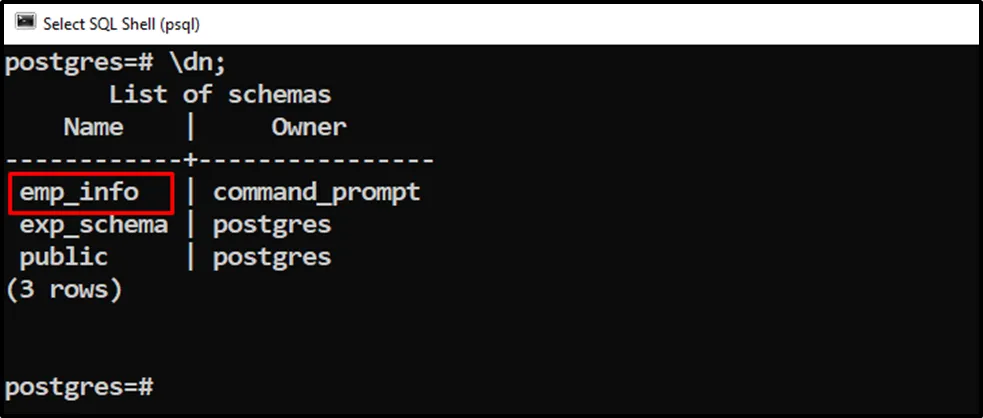
The output verified that the selected schema had been renamed successfully.
Conclusion
PostgreSQL offers an “ALTER SCHEMA” statement that is used to modify the schema’s definition, such as altering the schema’s owner, renaming a schema, and so on. Use the ALTER SCHEMA statement with the collaboration of the OWNER TO clause to change the schema’s owner. Use ALTER SCHEMA statement along with the RENAME TO clause to rename the schema’s name. This article explained the working of ALTER SCHEMA statements using practical examples.

