
Python allows us to interact with and retrieve/manipulate data stored in a PostgreSQL database utilizing the Python programming language. For this purpose, Python provides different libraries, such as psycopg2, that serve as PostgreSQL adapters. Connecting Python with PostgreSQL allows us to create, search, update, and delete data, execute complex queries, build robust applications, etc.
This post illustrates how to create a PostgreSQL table using Python.
How to Create a Postgres Table Using Python?
“psycopg2” is a popularly used library that assists us in establishing a connection to a PostgreSQL database using Python. Follow the given steps to create a Table in the PostgreSQL database using Python programming:
Prerequisite Step
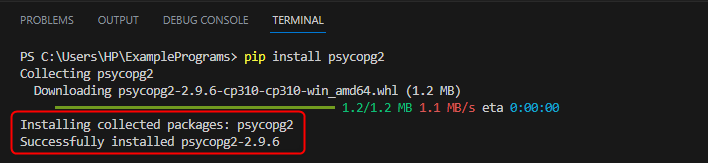
Before table creation using Python, users must ensure that “psycopg2” is installed on their system. It can be installed using the following “pip” command:
pip install psycopg2
The following snippet depicts that psycopg2 has been successfully installed on our system:
Step 1: Create a Python Program/File
Open any code editor and make a Python file with the “.py” extension. After that import the “psycopg2” in it:
import psycopg2
Step 2: Establish a Connection
Establish a Postgres Python connection by specifying the required connection details, such as database name, username, hostname, etc:
conn_details = psycopg2.connect(
   host="localhost",
   database="postgres",
   user="postgres",
   password="*****",
   port= '5432'
)
In the above snippet, the connect() function is used to establish a connection with the “postgres” database and as a “postgres” user.
Step 3: Create a Table
Once the connection is successfully established, we can create a table in the Postgres database using Python as follows:
cursor = conn_details.cursor()
Table_creation = '''
   CREATE TABLE staff_information (
       stf_id SERIAL PRIMARY KEY,
       stf_name TEXT NOT NULL
   )
'''
cursor.execute(table_creation)
Here:
- First, a cursor object is created.
- After that, the CREATE TABLE command is executed to create a “staff_inforamtion” table.
- The table is created with two columns: “stf_id” and “stf_name”.
- Finally, the query is executed using the “execute()” function to create a table.
Step 4: Save Changes
In the following snippet, the commit() and close() functions are used to save the changes and close the cursor and the connection:
conn.commit()
cursor.close()
conn.close()
Output

From the output snippet, you can observe that the cursor moves to the next line without any hassle, which proves that a table has been successfully created.
Step 5: Verify Table Creation
Now open the “psql” terminal and execute the following “\d” command to verify the table creation:
\d staff_information;
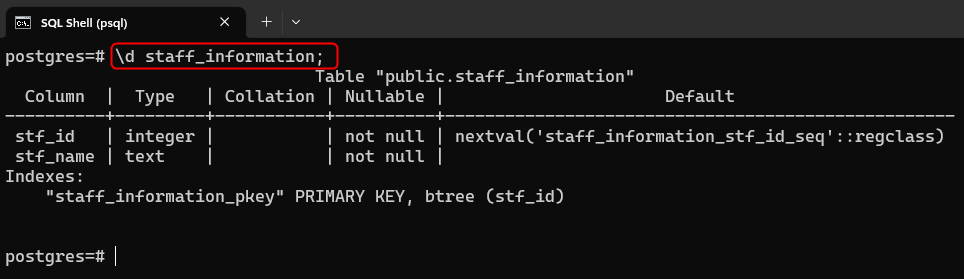
The output snippet confirms that the desired table has been successfully created in the Postgres database using Python.
Conclusion
To create a Postgres table using Python, first, create a Python file, import the “psycopg2” library, establish the connection between Postgres and Python, create a table, save changes, and close the cursor as well as connection. This post has illustrated a detailed method of creating a Postgres table using Python programming.