
PostgreSQL or Postgres is the most commonly used open-source relational database. It offers features like robustness, reliability, cost-free, etc. PostgreSQL serves as a data warehouse for multiple applications like web apps, mobile apps, etc. It enables us to store enormous and sophisticated data securely. However, to achieve any of its functionalities or features, firstly, we have to download and install PostgreSQL.
This write-up will present a detailed guide on downloading and installing PostgreSQL on Windows 10. So, let’s get started!
How to download PostgreSQL for Windows 10?
You have to follow the below-given steps appropriately to download the PostgreSQL:
Step1: Visit postgresql.org
Firstly, open the browser of your choice and enter “www.postgresql.org/download” in the address bar of your browser or click on the following link:
Clicking on the link will open the following window:
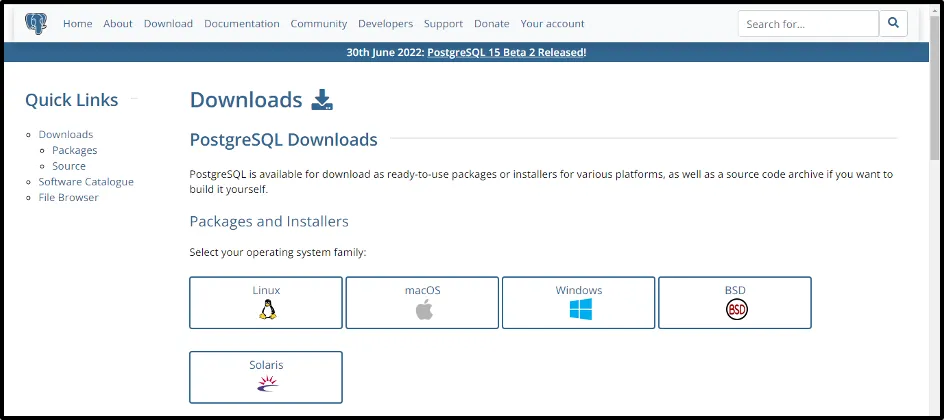
Step2: Select your OS
Select the operating system on which you want to download the PostgreSQL. In our case, its Windows operating system:

Step3: Download the installer
Clicking on the “Windows” option will direct to the below-given page:
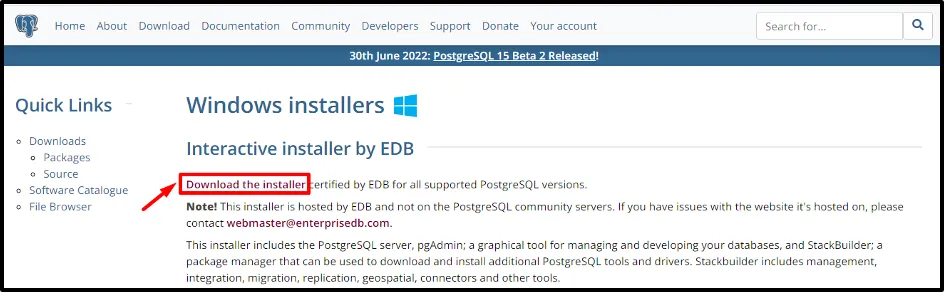
Click on the “Download the installer” option to download the interactive installer by EDB.
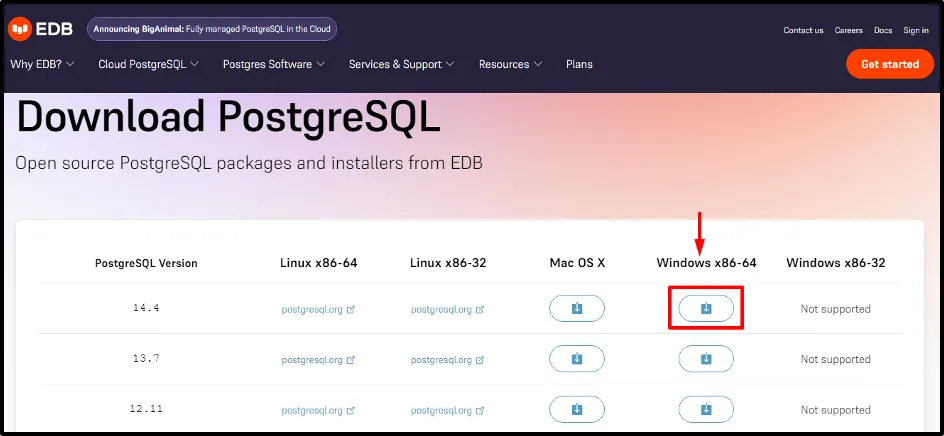
Step4: Choose the relevant PostgreSQL Version
Clicking on the above-given link will show you PostgreSQL versions for the different operating systems. Choose the latest PostgreSQL version for your respective operating system and click on the download button:
Clicking on the download button will start the downloading process:
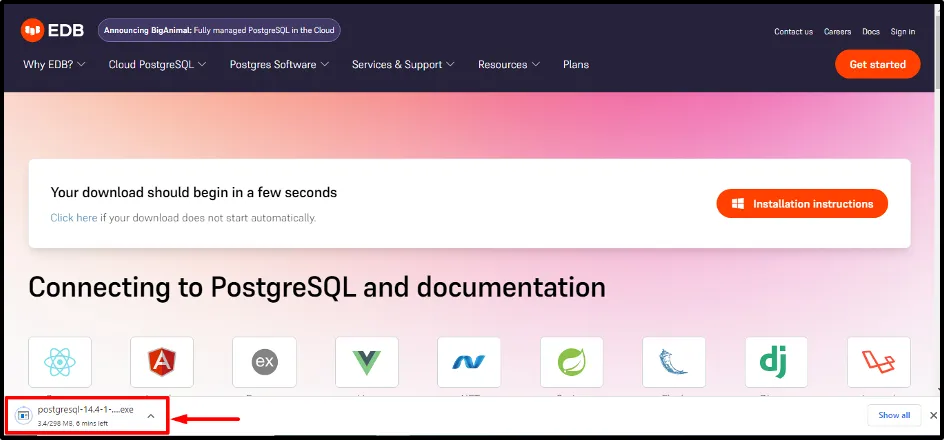
PostgreSQL will be downloaded to your windows operating system within a few minutes.
How to install PostgreSQL?
Follow the below-listed steps to install PostgreSQL on your Windows operating system:
Step 1: Open the downloaded file
Once the downloading is completed, open the respective “.exe” file:
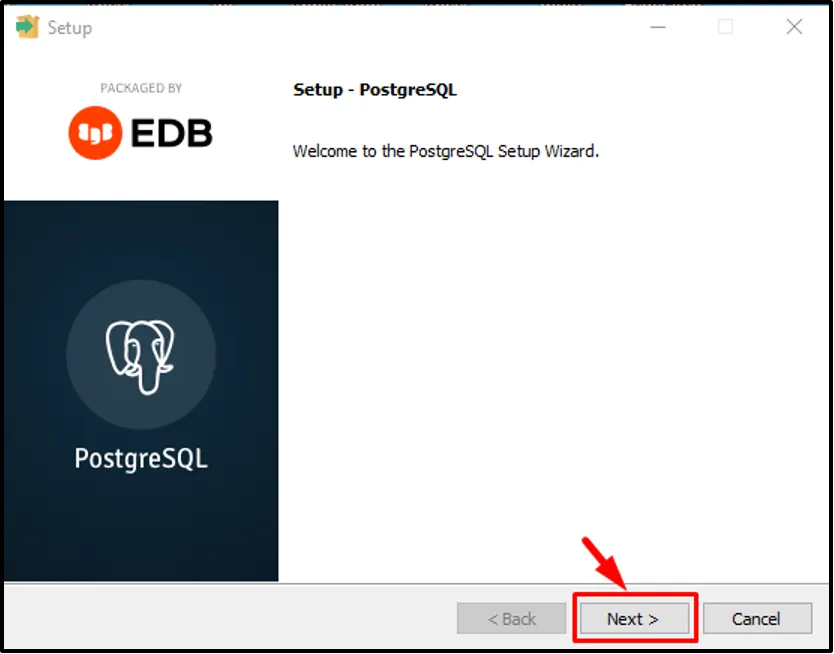
Initially, a "welcome" window will appear; click "Next" to proceed.
Step 2: Choose Installation directory
Specify or browse the directory where you want to install the PostgreSQL:
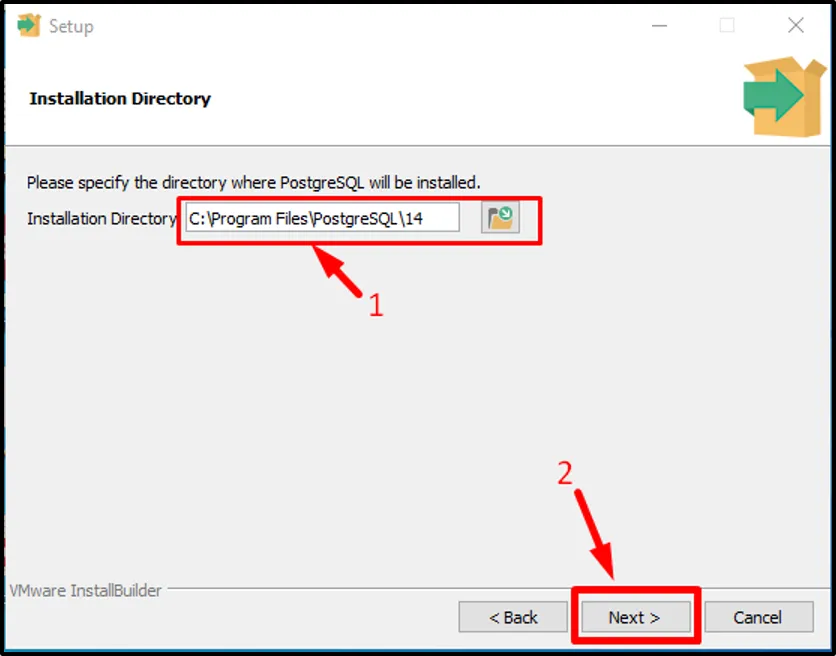
After specifying, click on the “Next” button to proceed further.
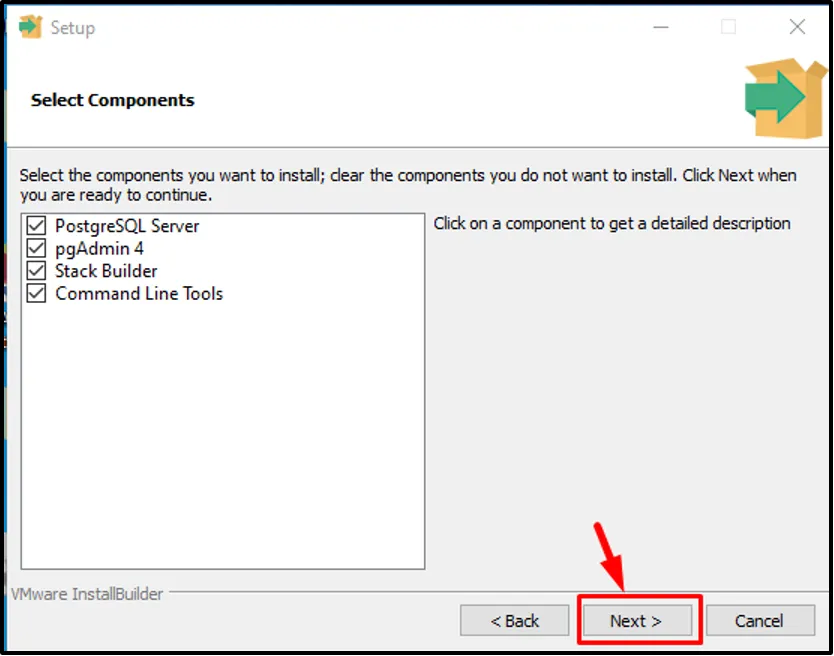
Step 3: Select Components
You can select the components of your choice to install on your computer. We will proceed with the default settings, so just click on the “Next” button:
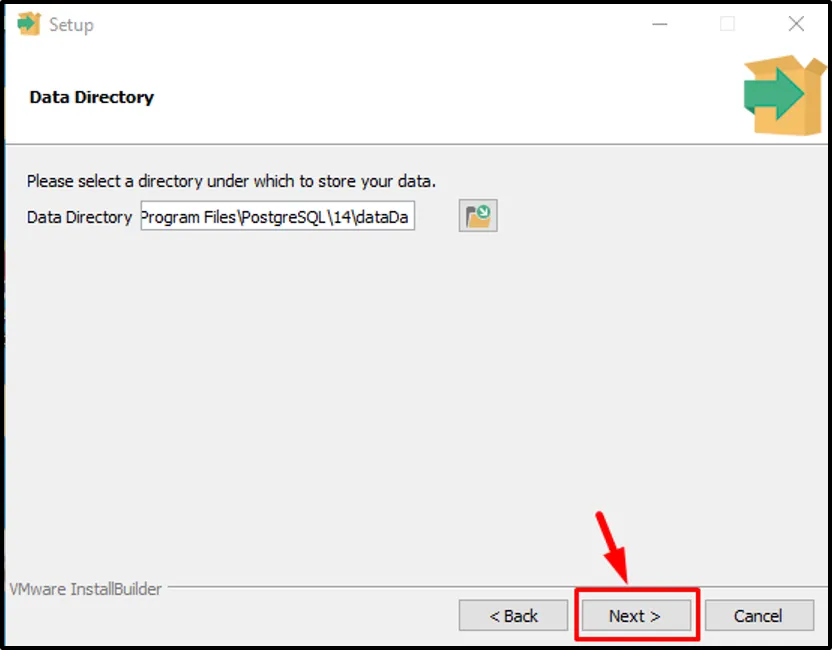
Step 4: Select Data Directory
Select a data directory to store your data and click on the “Next” button:
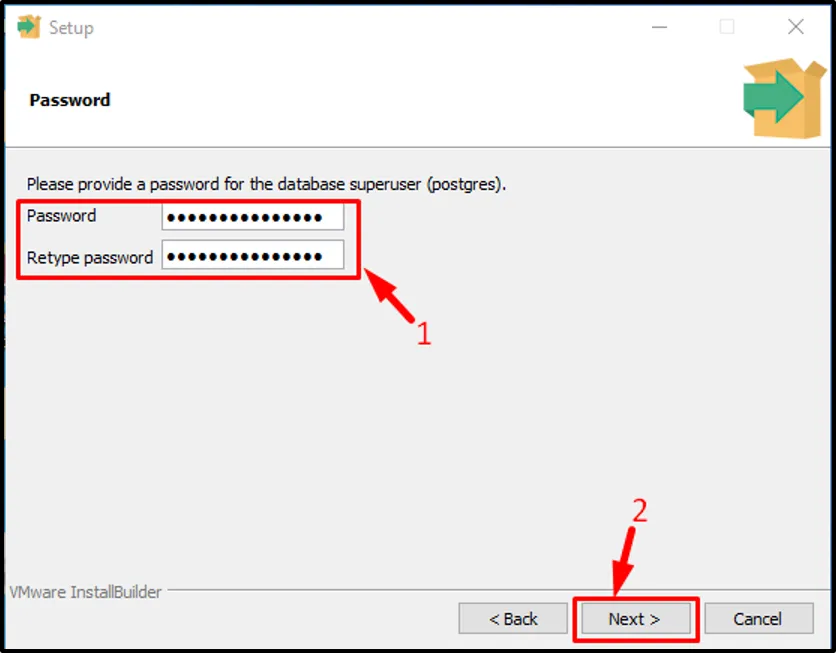
Step 5: Set Password
Set a password (must remember it for later use) for the Postgres superuser and click on the “Next” button:
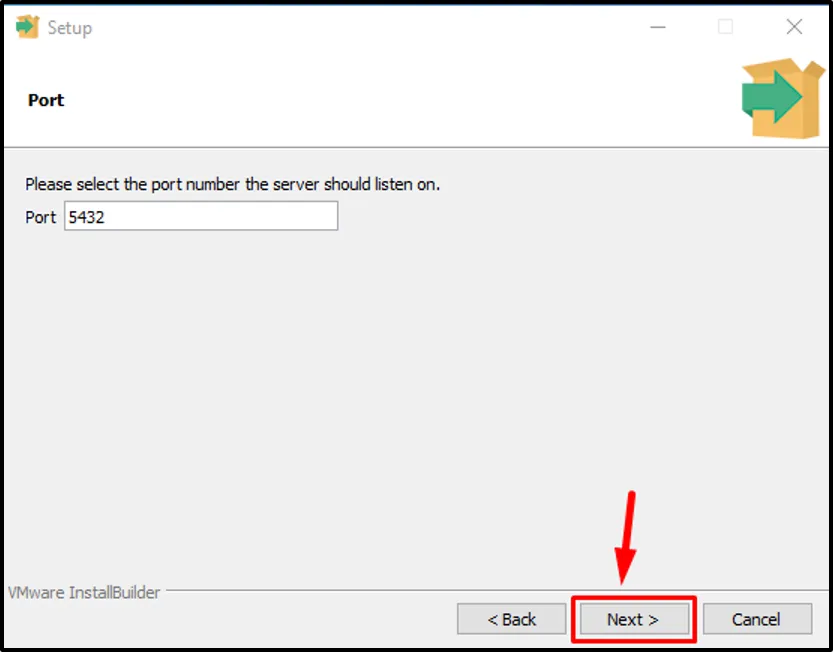
Step 6: Set Port Number
Whether set the port number or go with the default port number “5432” to connect to a database:
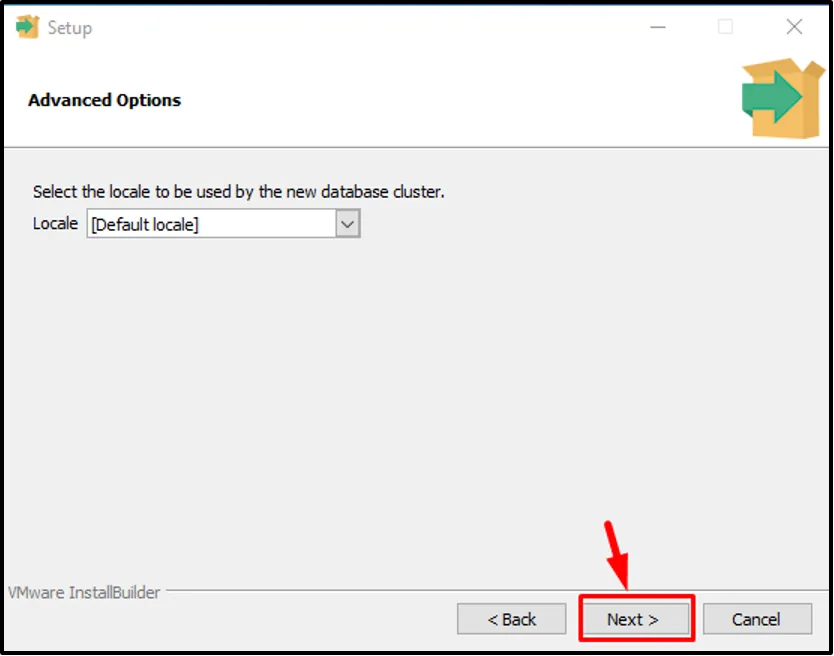
Step 7: Advanced Options
The next window will give you choice to select locale; leave them as it is, and click on the “Next” button:
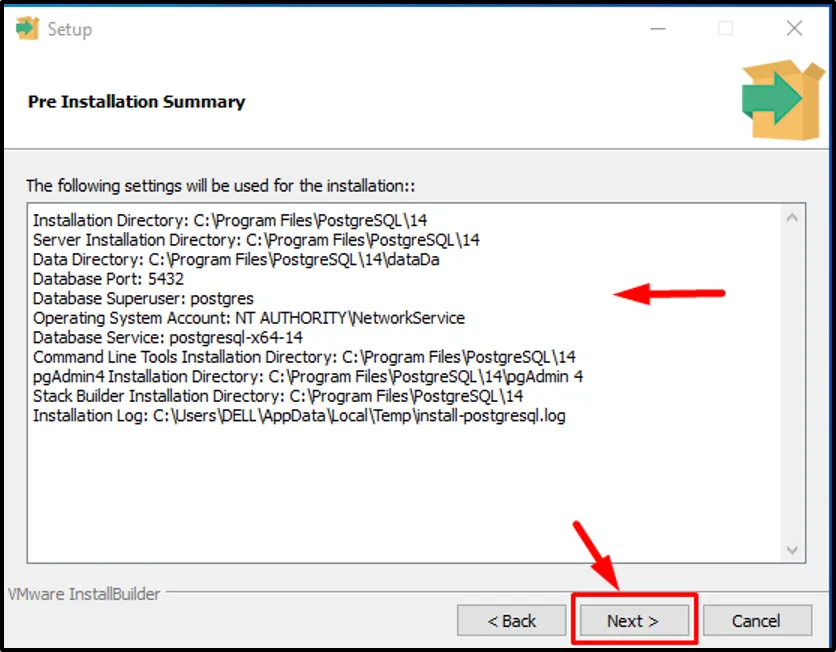
Step 8: Verify Pre-installation Summary
The pre-installation summary will tell you which settings will be used for the installation:
Step 9: Begin PostgreSQL Installation
The setup is ready to install Postgres on your windows operating system:
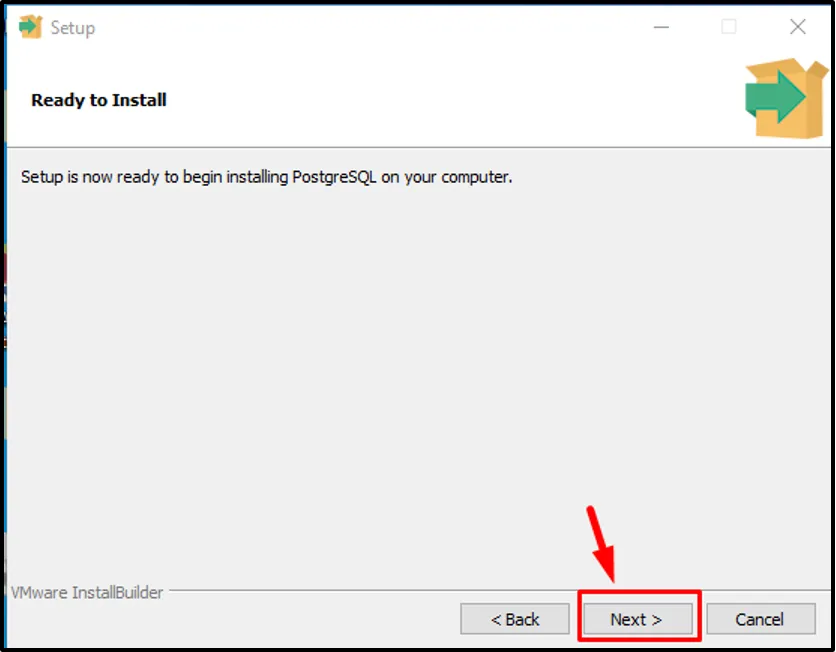
Just click on the “Next” button to begin the installation:
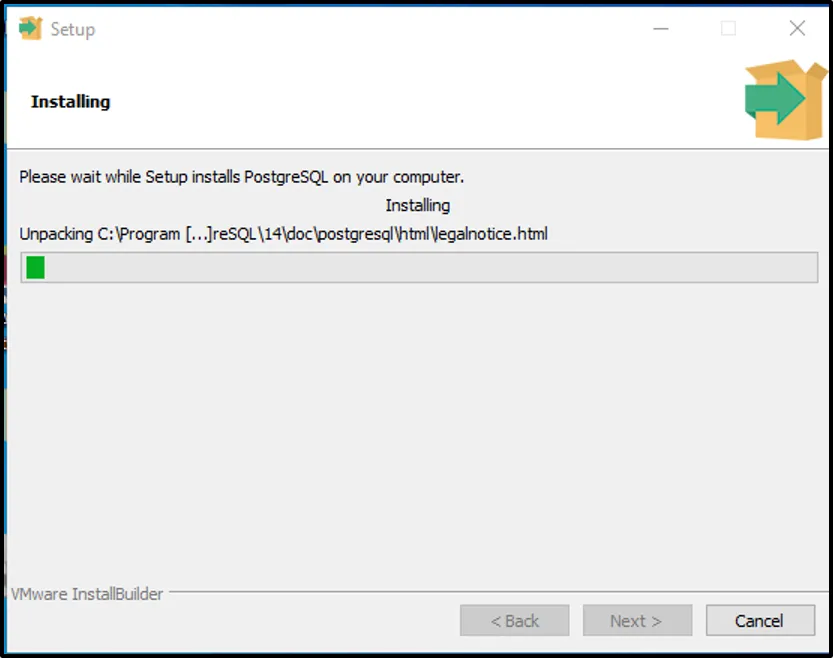
The whole process will take a few minutes to complete:
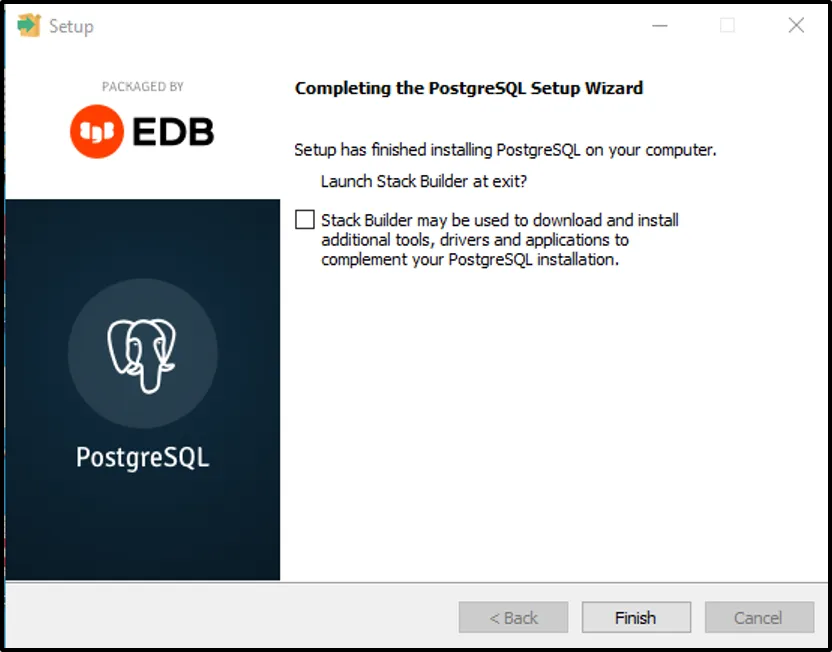
Once the PostgreSQL setup wizard is completed, click on the “Finish” button to close the installation windows.
How to launch PostgreSQL on Windows 10?
The below-given steps are required to launch PostgreSQL on Windows Operating System:
Step 1: Open pgAdmin
Click the windows button and find the “postgreSQL 14”. Once you find it click on it and select the “pgAdmin 4”:
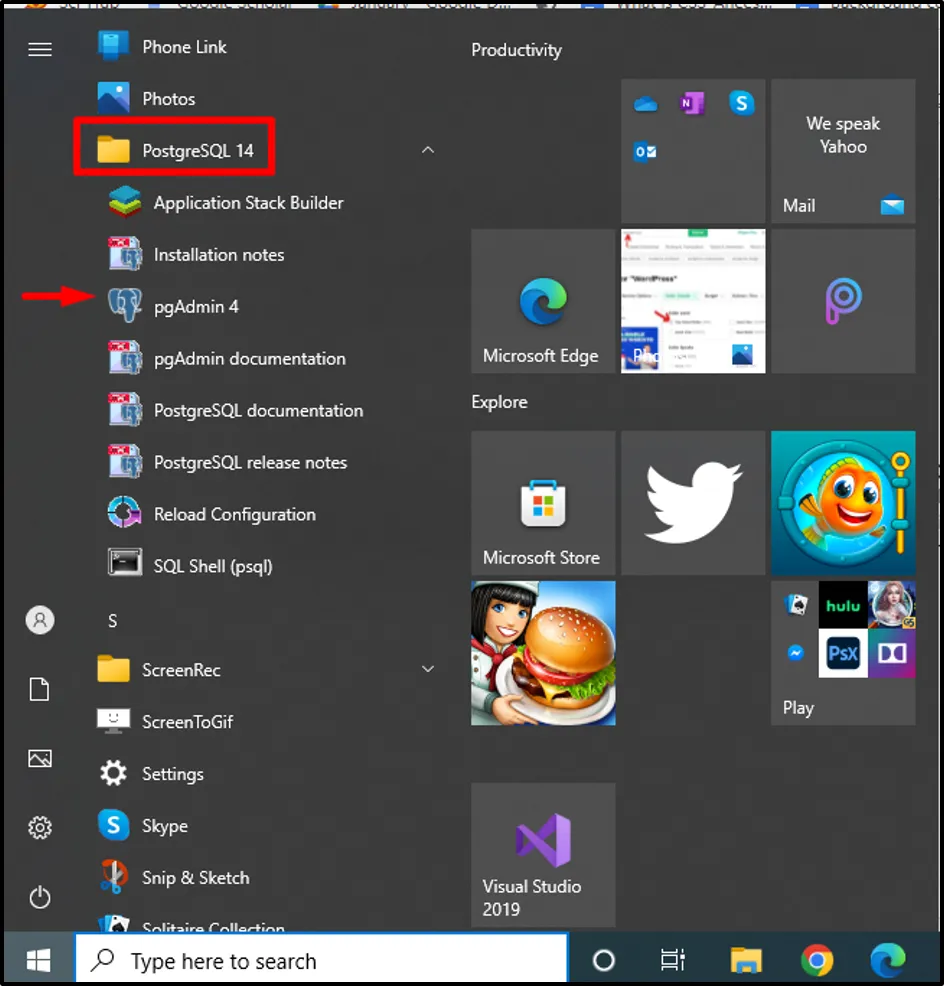
Or you can directly search for the “pgAdmin 4” in the windows search bar.
Step 2: Enter Password
Clicking on the “pgAdmin 4” will ask you to enter the password:
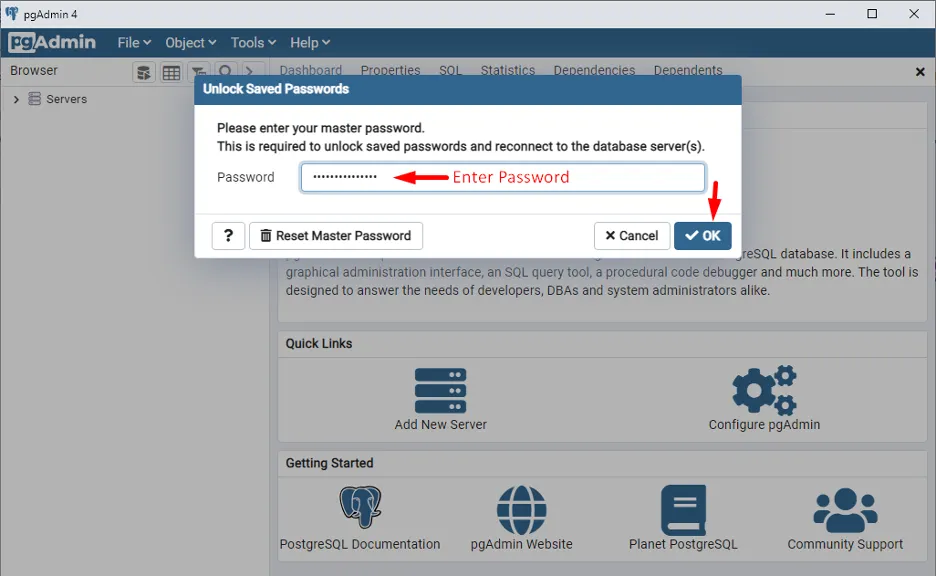
Provide the master password that you have recently set during the installation and click the “Ok” button to proceed.
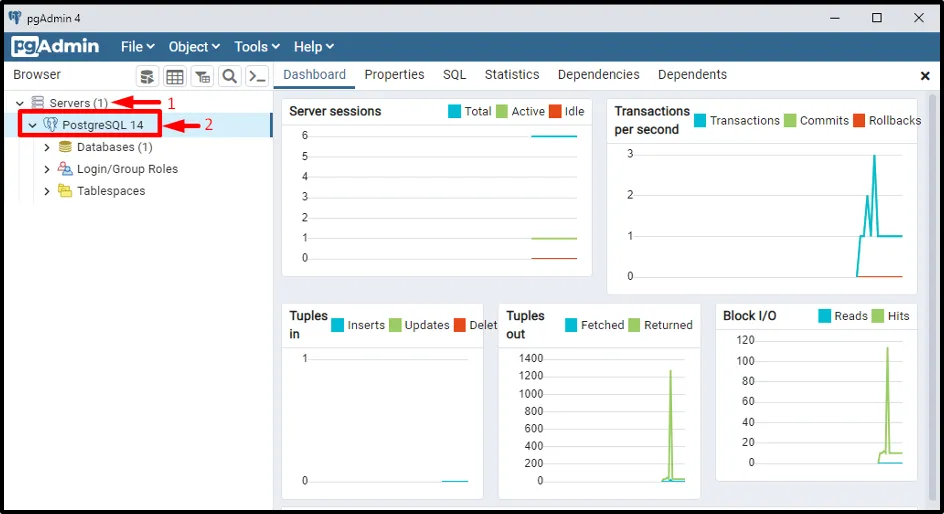
Step 3: Select PostgreSQL 14
In the left pane, click on the “Servers” and then “PostgreSQL 14”. Consequently, the following dashboard will appear:
That was all the necessary information about downloading, installing, and launching PostgreSQL on Windows 10 operating system.
Conclusion
To download PostgreSQL, visit “www.postgresql.org/download” > Select your OS > Download the installer > Choose the relevant PostgreSQL Version, consequently, a “.exe” file will be downloaded. To install PostgreSQL on Windows 10, open the downloaded file > specify installation directory > select components > select data directory > set password > read pre installation summary and finally click on the next button to begin the installation process.

