
In Postgres, users can manipulate the triggers by altering, enabling, disabling, creating, or dropping a trigger. In this post, we’ll specifically talk about enabling a trigger in Postgres. We can enable a trigger or multiple triggers that are linked with a table. When we want to enable only one trigger we will have to specify its name; while if we want to enable all the triggers associated with a table we will simply use ALL.
How to Enable a Trigger in PostgreSQL?
We can enable triggers associated with the table by using the ALTER TABLE ENABLE TRIGGER command. The basic syntax for this command is:
ALTER TABLE tab_name
ENABLE TRIGGER trig_name |  ALL;
The name of that table to which the trigger is associated is written after the ALTER TABLE statement. After ENABLE TRIGGER, the name of the trigger that needs to be activated/enabled is written. In case you want to enable multiple triggers linked with the table you can use the ALL keyword.
Example:
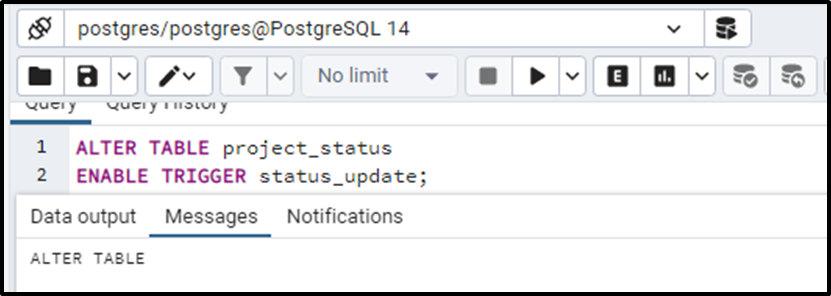
We will enable the trigger “status_update” from table “project_status” in the query below:
ALTER TABLE project_status
ENABLE TRIGGER status_update;
The output proves the successful alteration of the table:
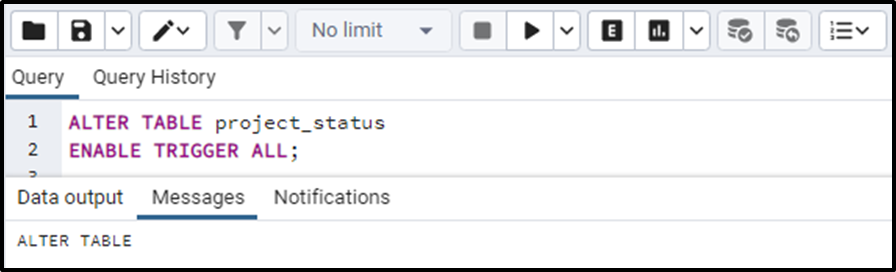
A similar thing can be done by this query:
ALTER TABLE project_status
ENABLE TRIGGER ALL;
Conclusion
To enable a trigger in PostgreSQL, the “ALTER TABLE” statement is used with the “DISABLE TRIGGER” clause. We need to specify the name of the trigger associated with a particular table in case of enabling one trigger. In case of enabling all the triggers related to a database table, we can simply use the ALL keyword.