PostgreSQL is a well-known relational DBMS that can be used in Docker to easily create and manage the PostgreSQL database without installing it on the local host machine. Sometimes, users work on a project that requires multiple Postgres databases for various reasons. In this situation, they can include various Postgres databases in a single container.
This write-up will demonstrate the procedure to include various PostgreSQL databases in a single Docker container.
How to Include Multiple Postgres Databases in a Single Docker Container?
To include multiple PostgreSQL databases in a single Docker container, follow the given-provided steps:
- Download Postgres Docker Image
- Create and Run the Postgres Container
- Interact With Executing Container
- Establish a Connection With a Database Server
- Create Multiple PostgreSQL Database in Docker Container
- Display All Available Databases
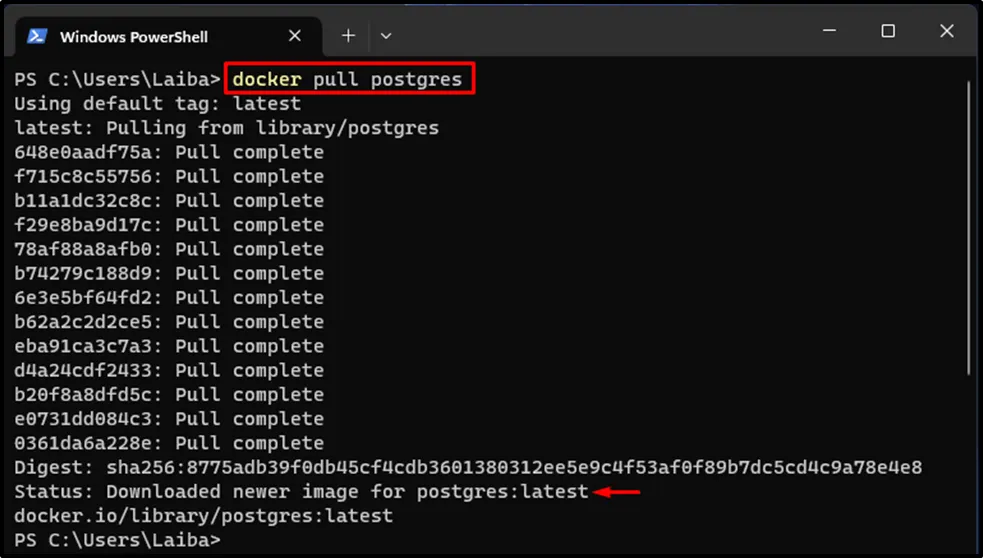
Step 1: Download Postgres Docker Image
Run the below-listed “docker pull” command in Windows PowerShell to download the official Postgres image from the cloud repository (Docker Hub) to the local system:
docker pull postgres

Step 2: Create and Run Postgres Container
Build and run the Postgres container by utilizing the “docker run --name -d <cont-name> -p 5432:5432 -e POSTGRES_PASSWORD=<password> postgres” command:
docker run -d --name postgresCont -p 5432:5432 -e POSTGRES_PASSWORD=pass123 postgres
Here:
- “-d” flag specifies that the container should execute in the background.
- “--name” option assigns the container’s name, i.e., “postgresCont”.
- “-p” assigns the port for the container i.e. “5432:5432”.
- “-e POSTGRES_PASSWORD” configures the password to be “pass123”.
- “postgres” is the official Docker image:

By doing that, the Postgres container has been created and started.
Step 3: Interact With Executing Container
Type out the “docker exec -it <cont-name> bash” command and specify the executing Postgres container name to open the shell within it:
docker exec -it postgresCont bash

Subsequently, the “PostgresCont” container has been accessed and now we can execute commands in it.
Step 4: Establish a Connection With Database Server
To make a connection with the Postgres Database Server, execute the “psql” command along with the hostname and user name:
psql -h localhost -U postgres

As you can see, the SQL shell has been started successfully where we can run PostgreSQL queries and psql commands.
Step 5: Create Multiple PostgreSQL Database in Docker Container
Now, create a new Postgres database by executing the “CREATE DATABASE” command along with the database name. For instance, we are creating a database named “tsl_employee”:
CREATE DATABASE tsl_employee;
The below output indicates that the specified database has been created:

Continuously repeat this step to create multiple Postgres Databases and specify different names for each new database as you can see in the below screenshot:

Upon doing so, multiple databases have been created.
Step 6: Display All Available Databases
To list all the databases, execute the “\l” command:
\l
In the below screenshot, six databases can be seen in a single container:

We have successfully included multiple Postgres databases in a single Docker container.
Conclusion
To include various Postgres databases in a single Docker container, first, download the Postgres Docker image. Then, create and run the Postgres container via the “docker run --name -d <cont-name> -p 5432:5432 -e POSTGRES_PASSWORD=<password> postgres” command. Next, interact with the executing container and establish a connection with a database server using the “psql -h localhost -U postgres” command.
After that, create multiple PostgreSQL databases in a single Docker container by continuously executing the “CREATE DATABASE <database-name>” command with different names for each new database. Lastly, display all the available databases. This write-up has demonstrated the procedure to include multiple Postgres databases in a single Docker container.


