
CentOS is a famous distribution of the Linux operating system for its stability and long-term support. By installing PostgreSQL on CentOS, users can have access to a powerful database management system that provides advanced features. It includes storing, managing, and retrieving large amounts of data, performing complex data analytics, and building web applications, among other things.
This post will teach the step-by-step procedure to install PostgreSQL on CentOS.
- How to Install PostgreSQL on CentOS?
- Update System
- Install PostgreSQL
- Initialize PostgreSQL
- Start PostgreSQL Service
- Set PostgreSQL to Start at Boot Time
- Configure PostgreSQL
How to Install PostgreSQL on CentOS?
Here are the steps to install PostgreSQL on CentOS:
Step 1: Update the System
Before installing any new package, it is important to update your system to the latest available version. Users can do this by running the following command in the terminal:
$ sudo yum update
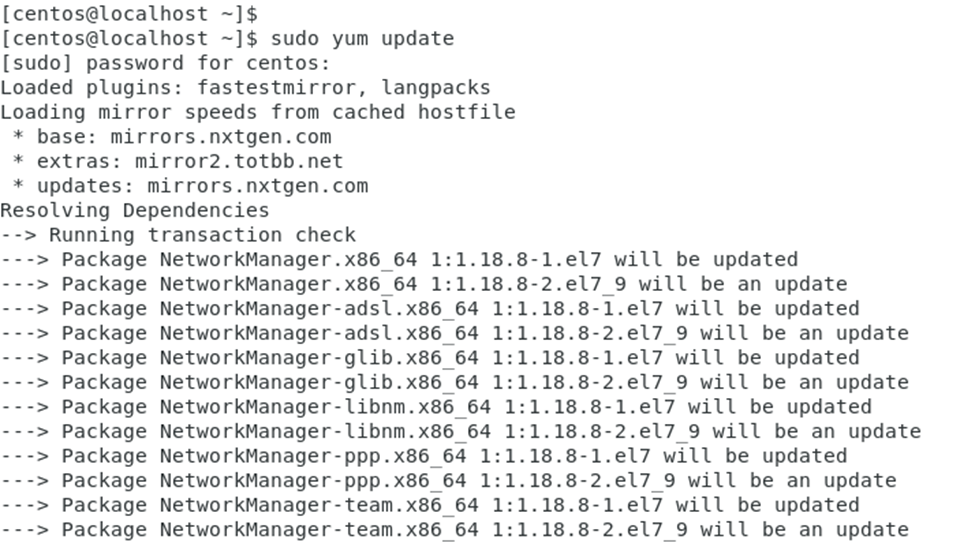
The output shows that the system repository has been updated.
Step 2: Install PostgreSQL
To install PostgreSQL on CentOS, execute the “yum” command by specifying the required packages:
$ sudo yum install postgresql-server postgresql-contrib
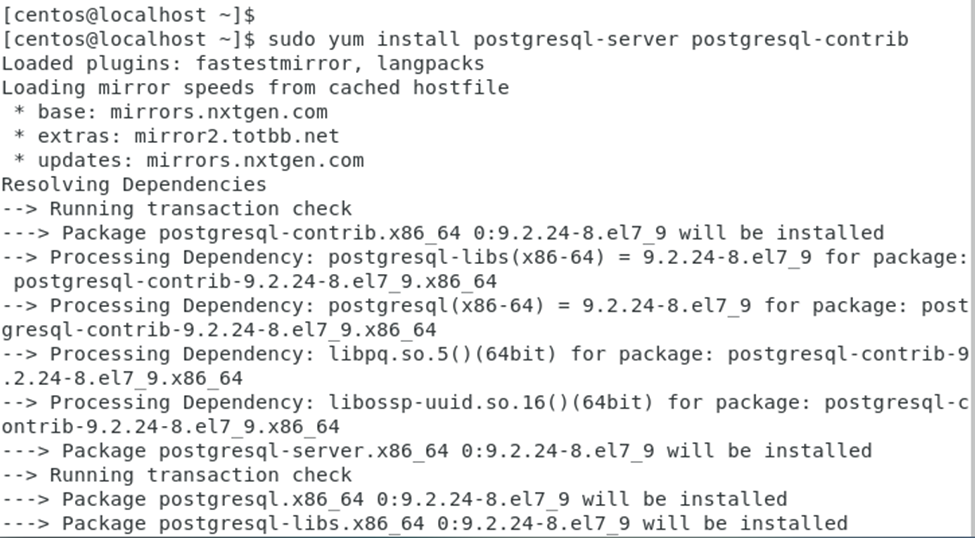
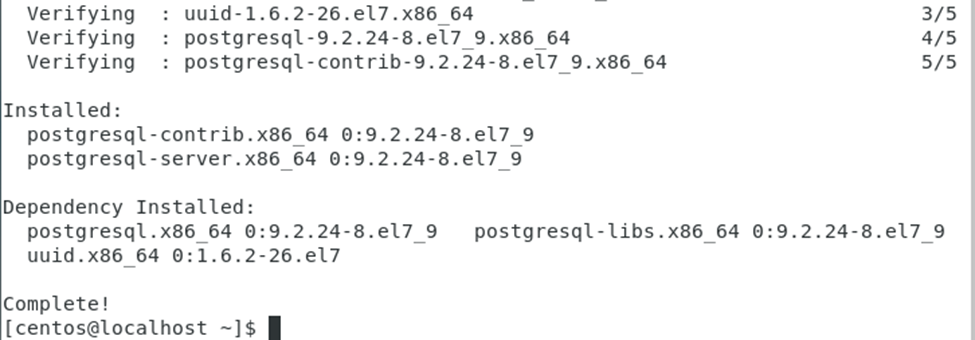
This command installs both the PostgreSQL server and additional contributed modules.
Step 3: Initialize PostgreSQL
After installing the PostgreSQL server, users need to initialize it. For this, execute the following command:
$ sudo postgresql-setup initdb

This command creates the initial database cluster.
Step 4: Start PostgreSQL Service
Now start the PostgreSQL service by running the “systemctl” command with the “start” utility:
$ sudo systemctl start postgresql

In this way, the services of PostgreSQL have been started.
Step 5: Set PostgreSQL to Start at Boot Time
To ensure that the PostgreSQL service starts automatically at system boot, run the following command:
$ sudo systemctl enable postgresql

It ensures that PostgreSQL has been set to start at boot time.
Step 6: Configure PostgreSQL
By default, PostgreSQL listens on the localhost. If users want to allow remote connections, modify the configuration file. For this, open the file “/var/lib/pgsql/data/pg_hba.conf” in a text editor, and add the following line at the end of the file:
$ host all all 0.0.0.0/0 md5
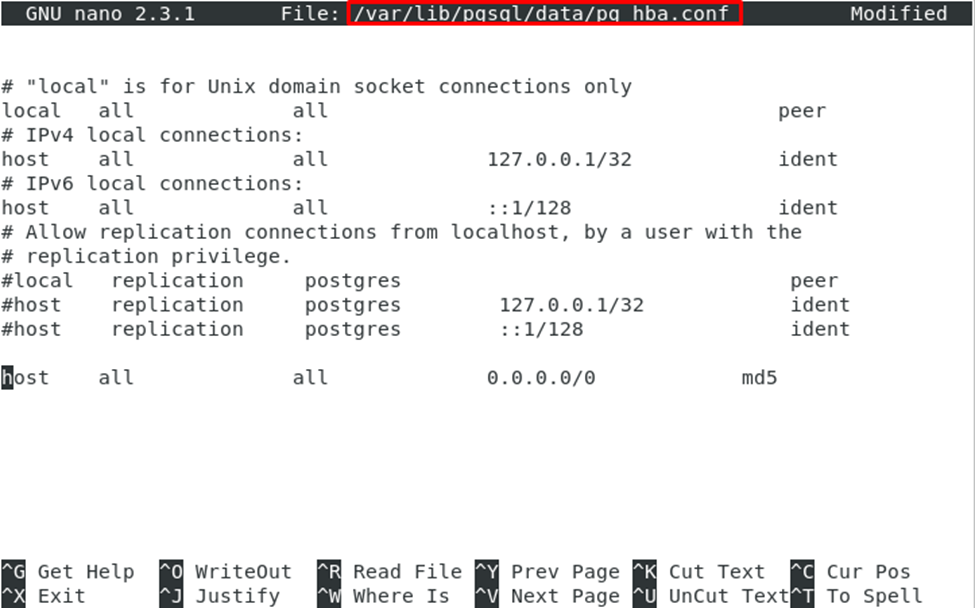
It gives permission to make connections to any IP address. Users can restrict this by replacing 0.0.0.0/0 with a specific IP address or subnet.
Step 7: Restart PostgreSQL
After modifying the configuration file, restart the PostgreSQL service by running the following command:
$ sudo systemctl restart postgresql

It restarts the PostgreSQL service in the CentOS.
Conclusion
To install PostgreSQL on CentOS, execute the “sudo yum install postgresql-server postgresql-contrib” script. After the installation, users can configure the PostgreSQL by modifying the “/var/lib/pgsql/data/pg_hba.conf” configuration file. This article has explained the step-by-step guide to installing PostgreSQL on CentOS.