
PostgreSQL is a popular open-source relational database that offers many features such as security, object-oriented database features, reliability, etc. It allows the developers to build the applications, administrators to protect data integrity, users to store immense and sophisticated data securely, and so on.
Postgres is becoming increasingly popular every day due to its stunning features. However, it must be installed on your system to access any of its functionality/features. You can install Postgres on any platform, such as Windows, macOS, etc.
This blog post will teach you how to download and install the Postgres database on macOS. So, let's begin.
How to Download Postgres on macOS?
Visit the official link to download the Postgres database on your mac operating system. Once you click on the provided link, the following window will appear:
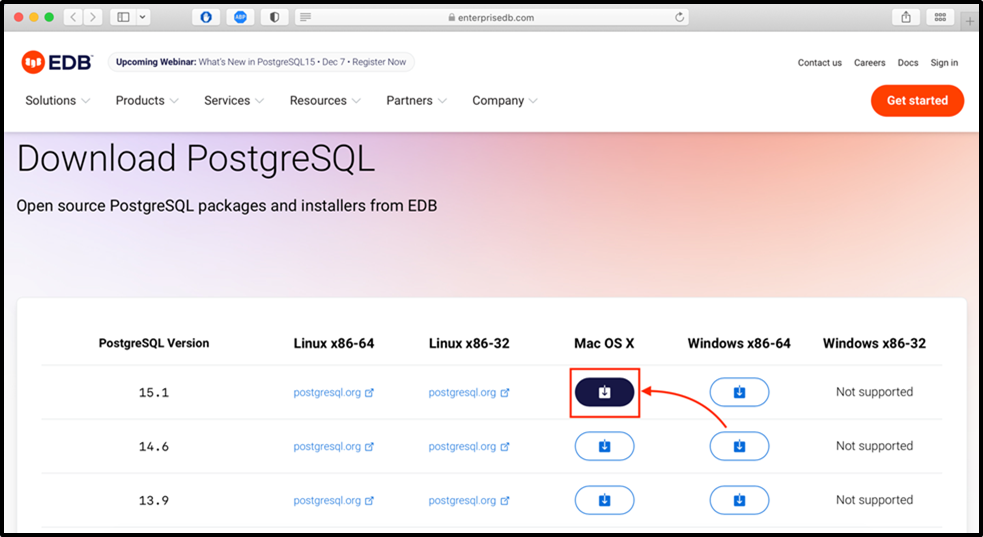
You can download the Postgres database for Mac by clicking on the download button:
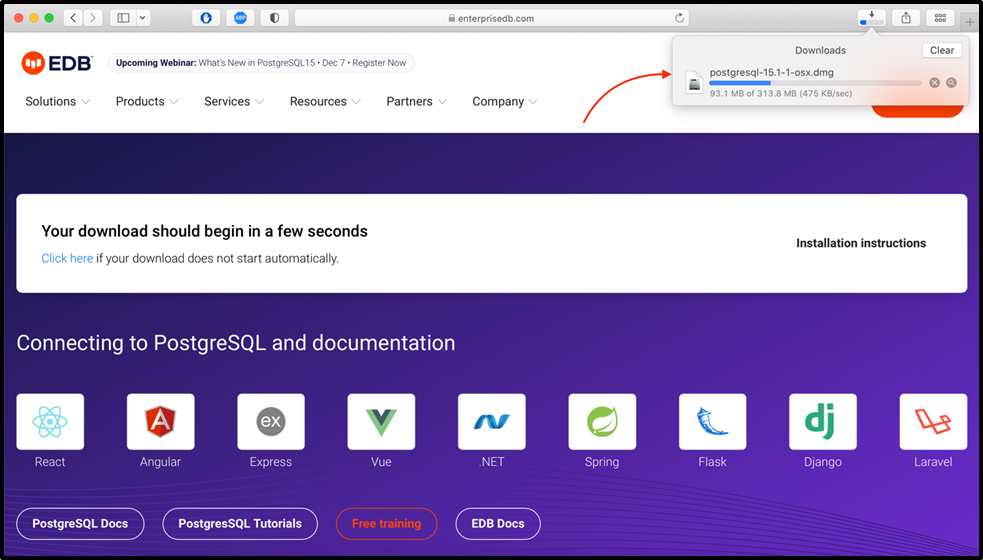
As seen in the above snippet, the download process has begun, and will take several minutes to complete it.
How to Install Postgres on macOS?
Once the PostgreSQL is downloaded, you can install it on your macOS. To do so, follow the below-mentioned stepwise instructions:
Step 1: Launch the Setup Wizard
Visit the directory where you downloaded the Postgres:
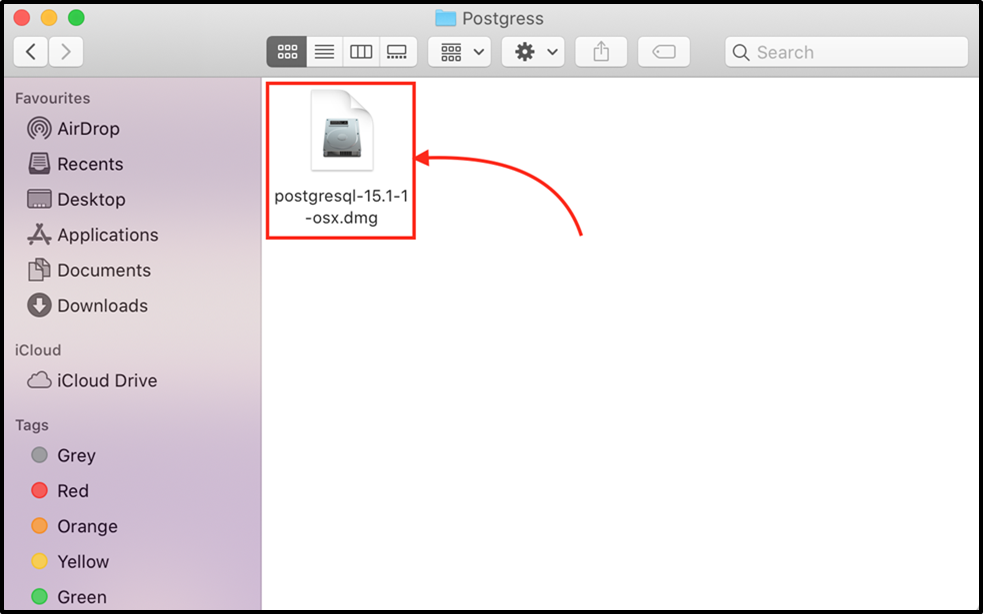
Clicking on the “.dmg” file will lead you to the following window:
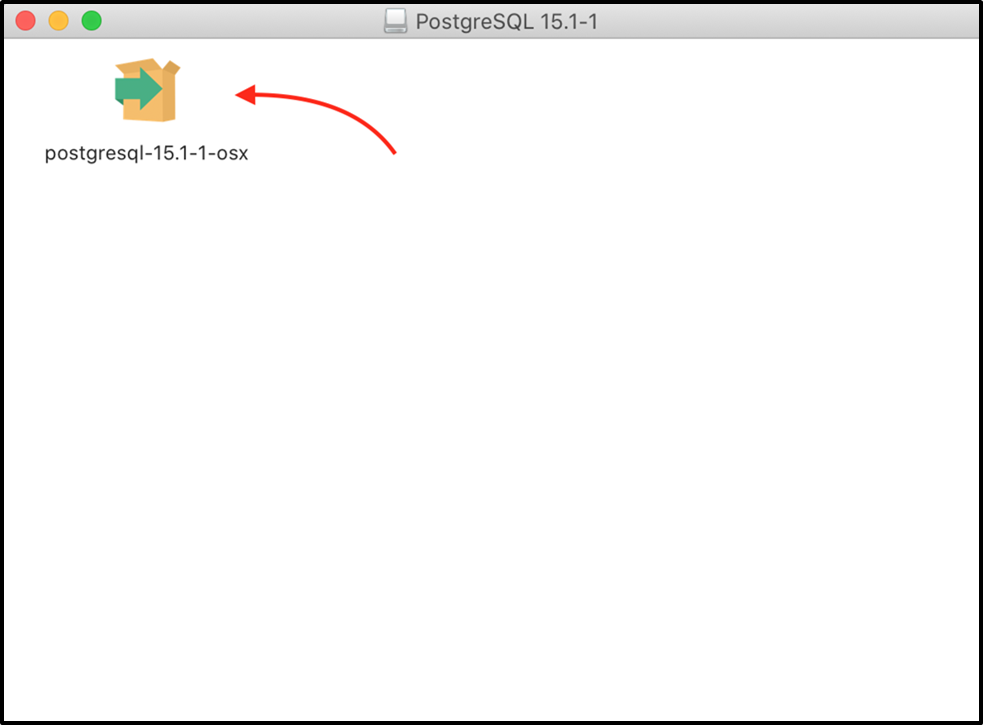
Clicking on the desired file will pop up the below window:
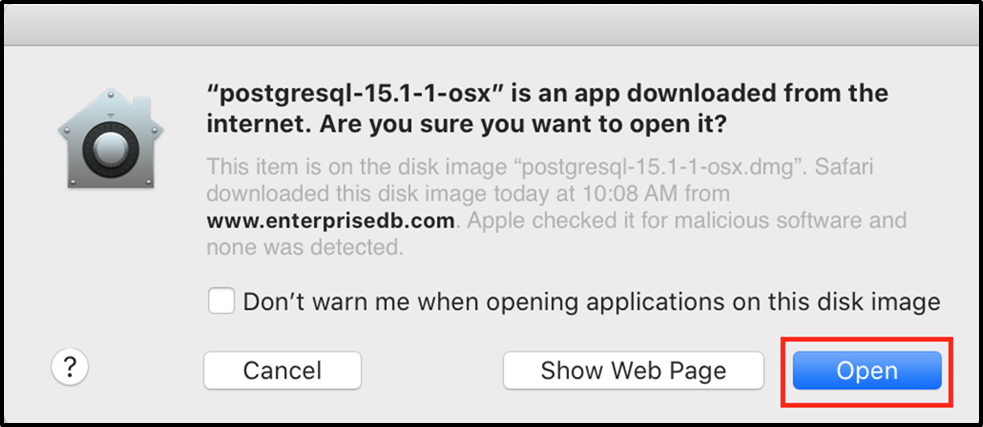
Click on the “Open” button to open the downloaded Postgres file.
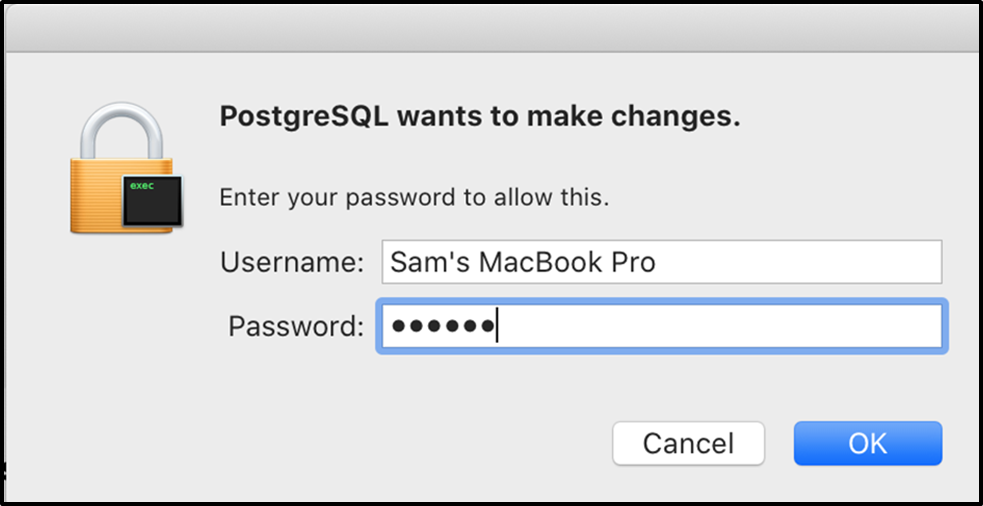
Provide the password and hit the OK button to launch the Setup wizard:
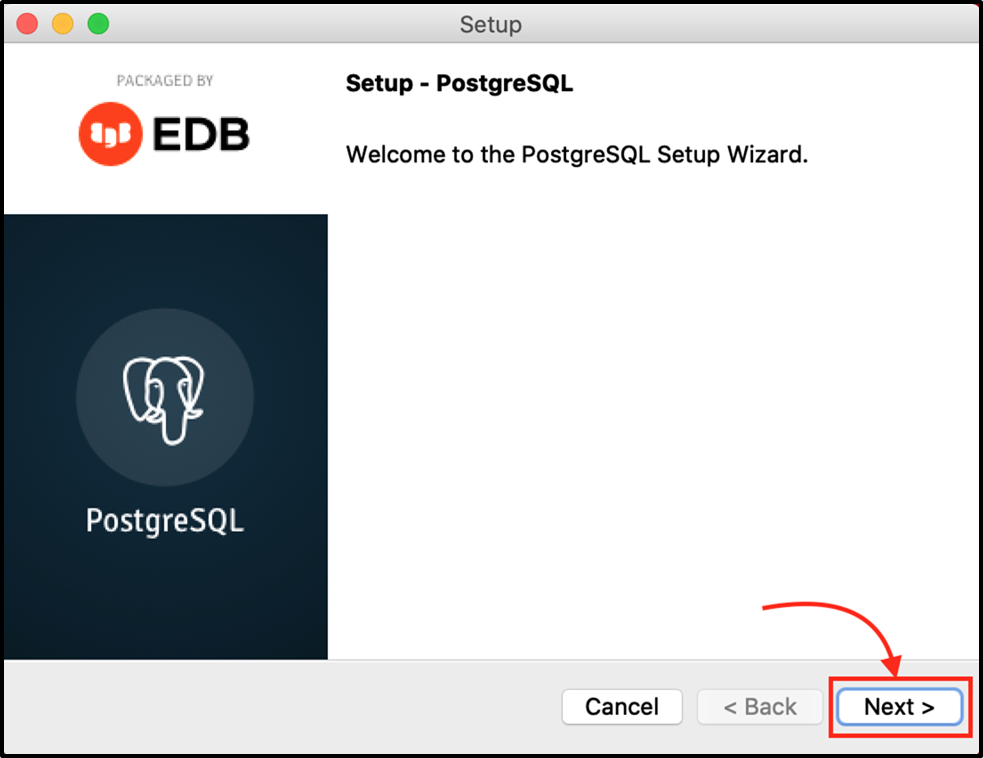
Hit the “Next” button to move on to the next step.
Step 2: Select Installation Directory
Specify the installation directory where you want to install the PostgreSQL on your macOS:
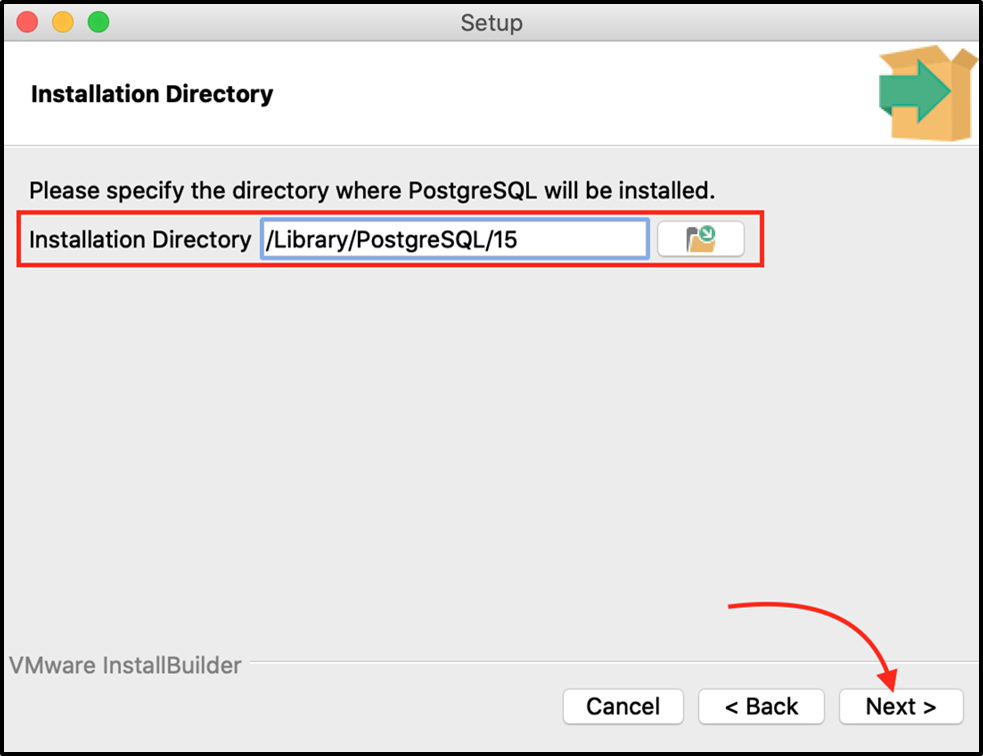
Hit the “Next” button to move on to the next step.
Step 3: Select Components to be Installed
Tick the box to select the components that you want to install, and leave the box unticked if you don’t want to install a specific component:
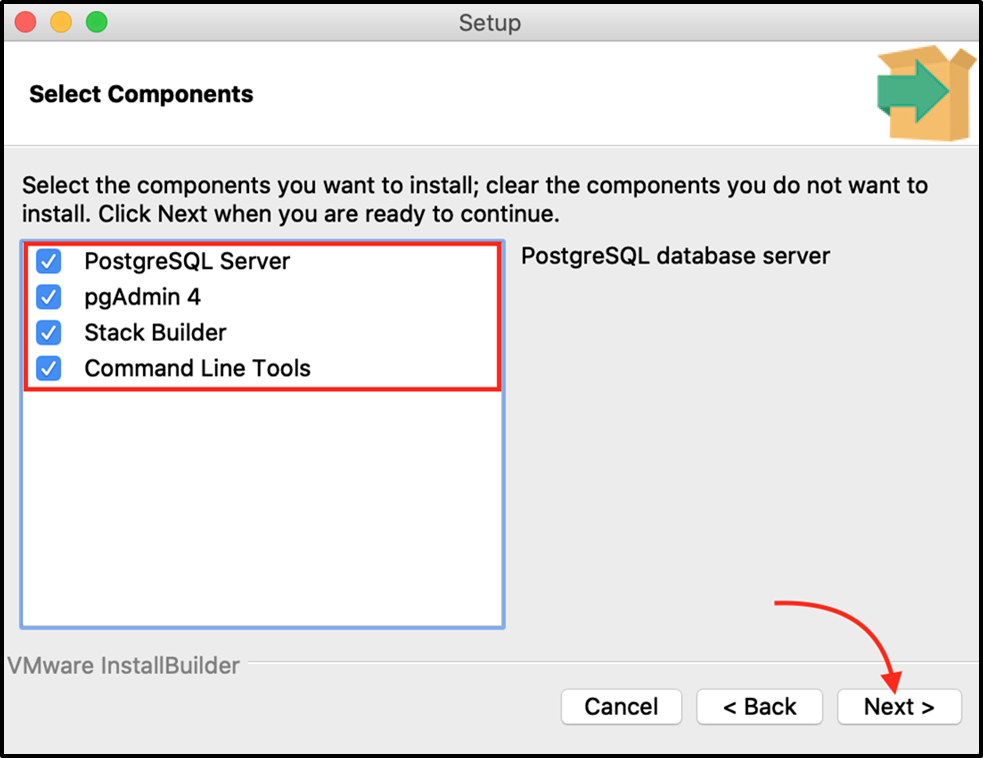
Hit the “Next” button to continue the installation setup.
Step 4: Select Data Directory
Specify a directory where you want to store your data:
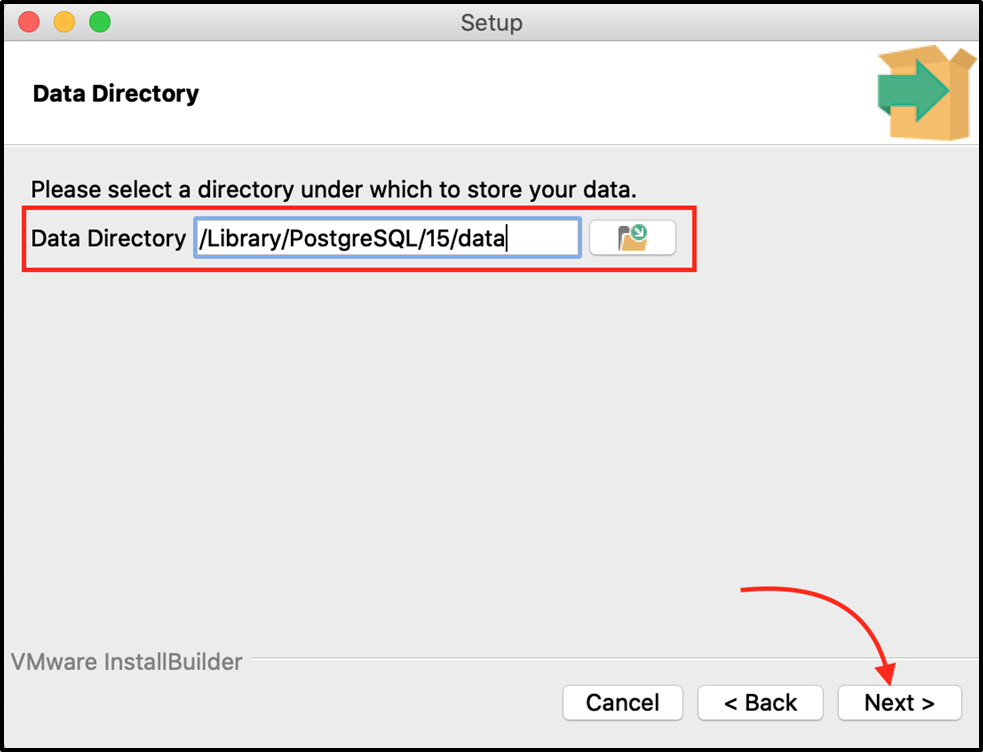
Click on the “Next” button to move on to the next step.
Step 5: Set Super User Password
Specify the password for the database superuser and must remember it for later use:
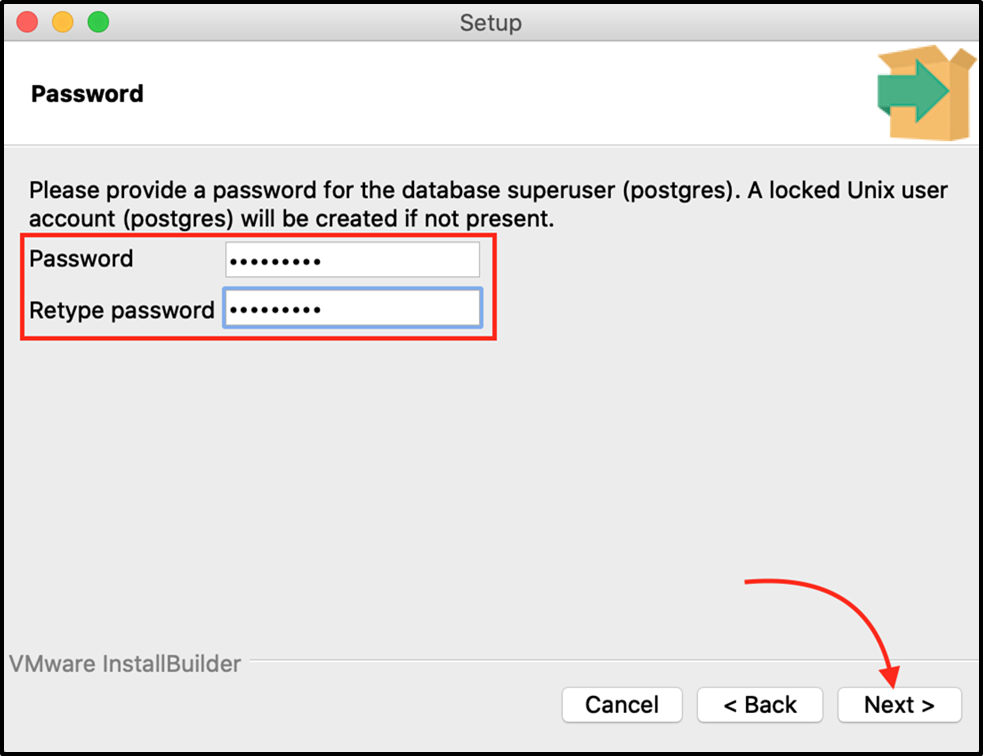
Hit the “Next” button to continue the installation setup.
Step 6: Set Port Number
Specify the port number of your choice, or select the default port number:
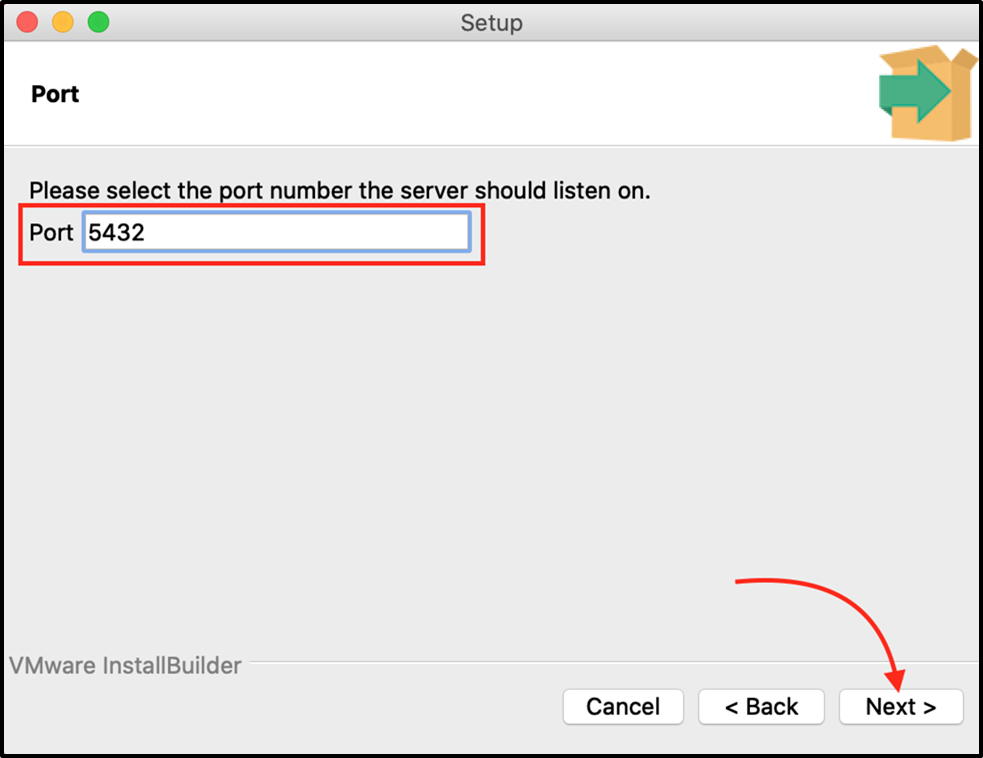
Clicking on the “Next” button will lead you to the next step.
Step 7: Select Locale
Select a locale under the “advanced options” window:

Clicking on the “Next” button will move you to the pre-installation summary.
Step 8: Review Pre-Installation Summary
Review the pre-installation summary and hit the next button:
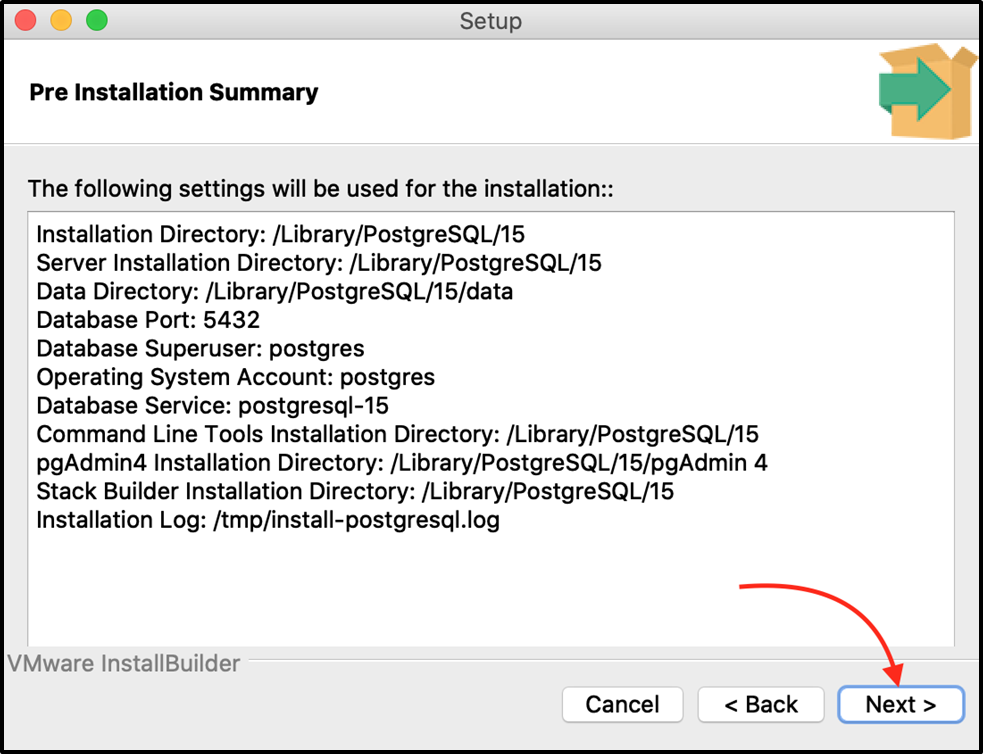
As soon as you click the next button, you will be one step closer to starting the installation.
Step 9: Install Postgres on macOS
Now the setup is ready to start the Postgres installation on your macOS:

Clicking on the Next button will start the Postgres installation:
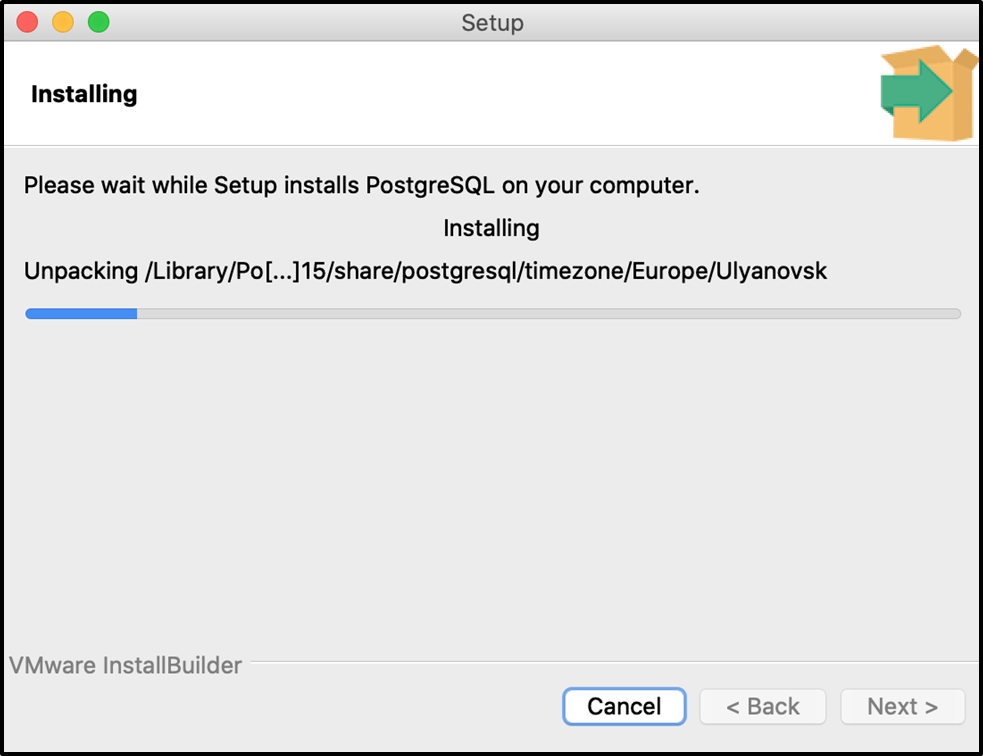
The installation process will take some time to finish and will finally lead you to the following window:
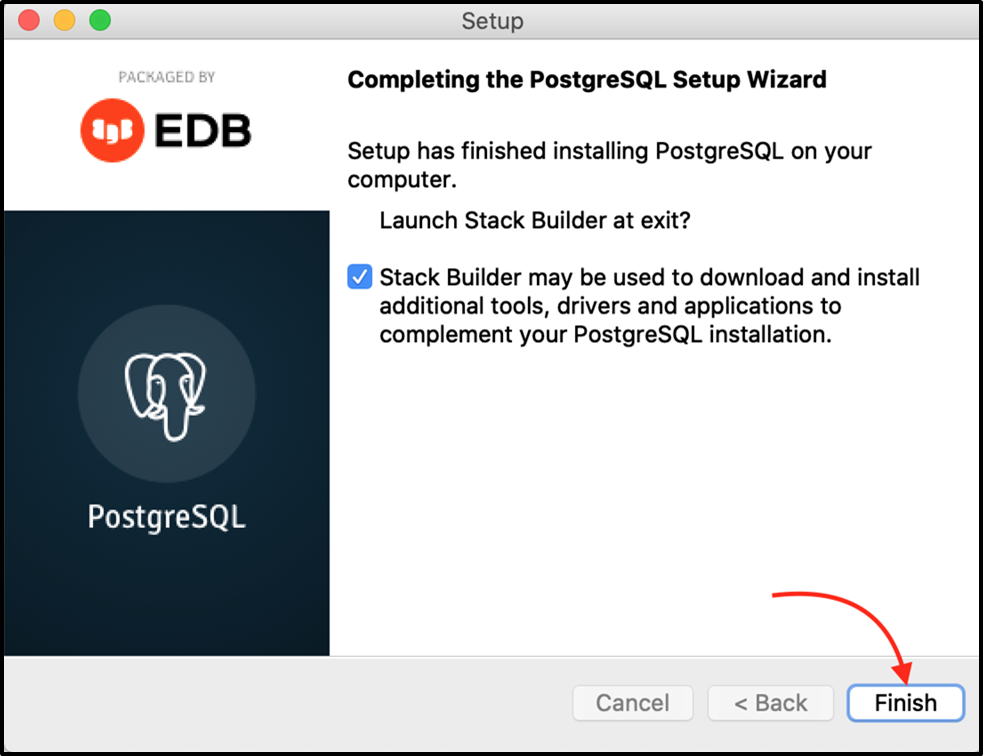
Hit the “Finish” button to complete the Postgres installation on your macOS.
Note: Once the installation is done, you can perform any Postgres operation using pgAdmin, or command line tools. For instance, the following steps will help you determine the Postgres version via pgAdmin:
Step 10: Launch pgAdmin
Open the “pgAdmin 4” from the launch pad:
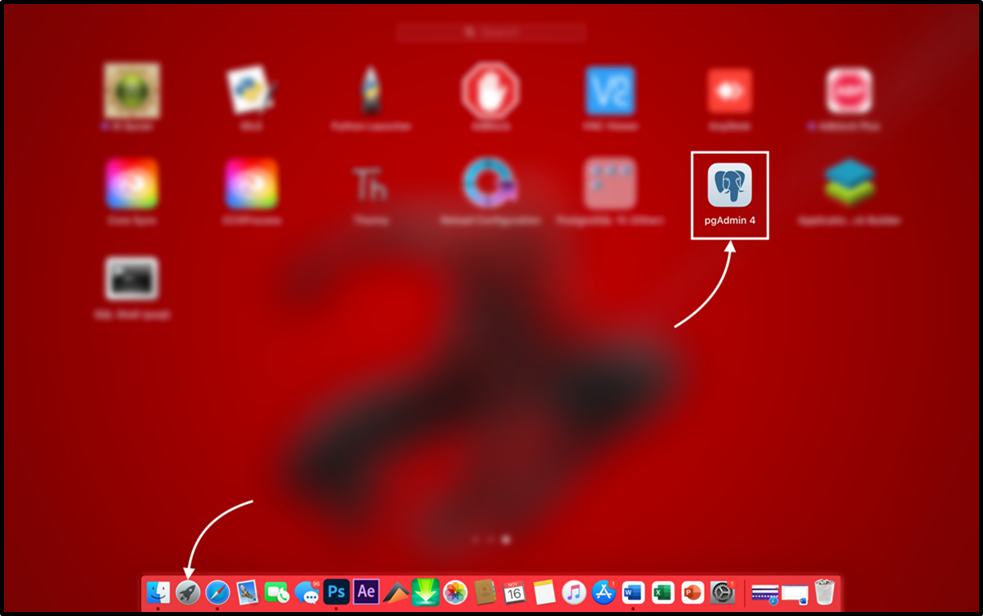
Provide the superuser password that you specify during the installation process:
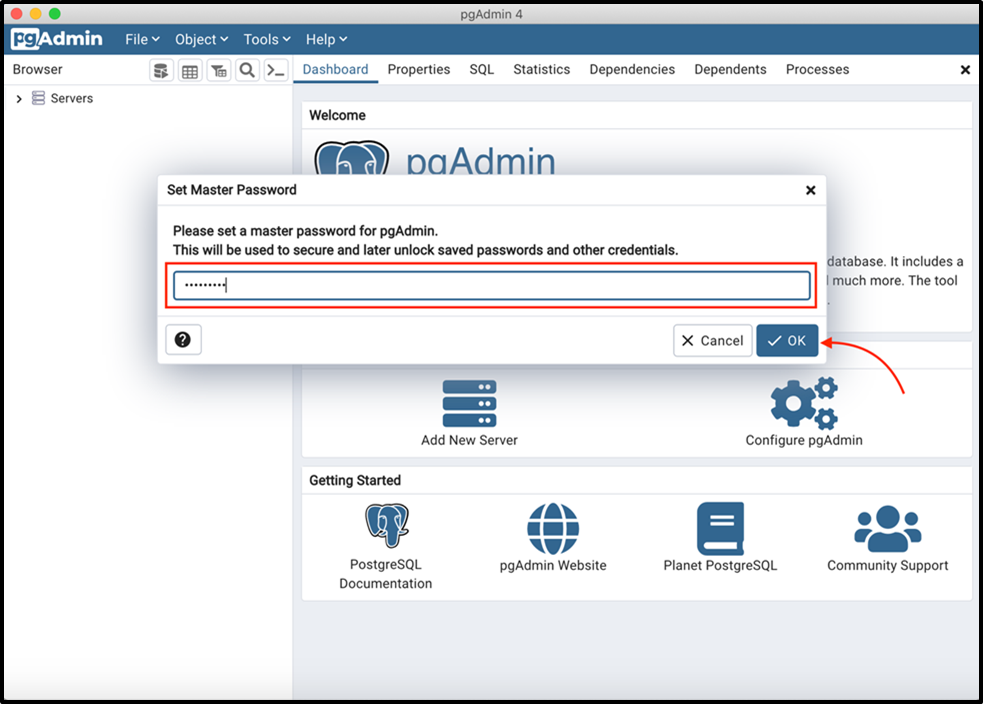
Hit the “OK” button to log in to the pgAdmin.
Step 11: Check Postgres Version
Now, expand the “Servers” tree > Left-click on “PostgreSQL” and then click on the “Properties” tab to check the Postgres Version:
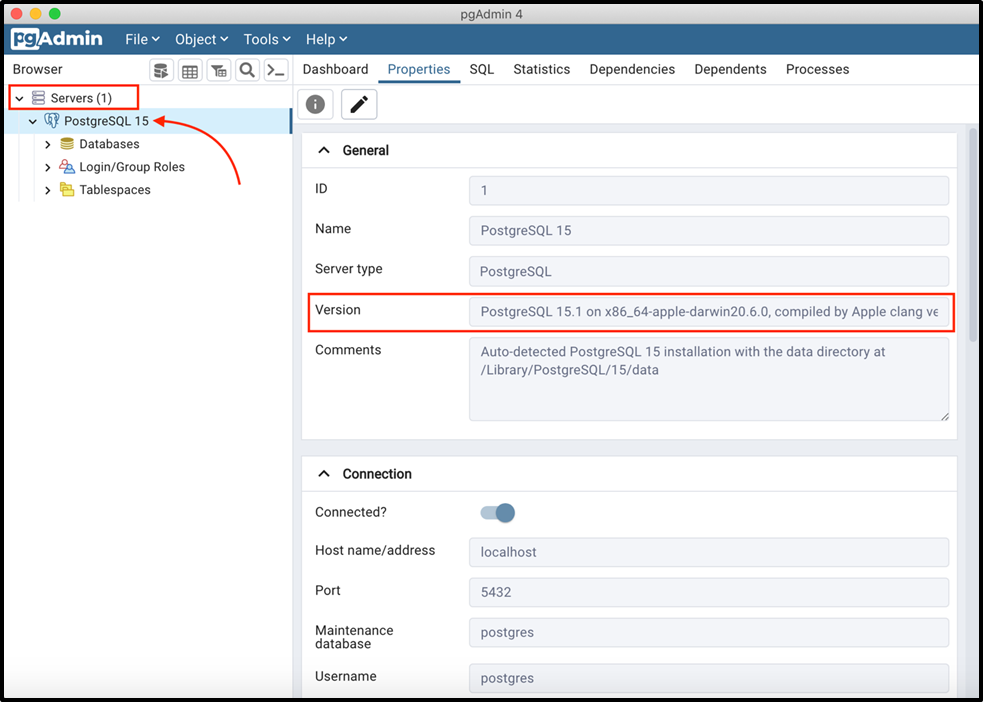
The above snippet shows that “PostgreSQL 15.1” is running on your macOS.
Conclusion
To install Postgres on macOS, firstly download Postgres for macOS> launch the setup wizard > specify installation directory> select components to be installed > specify data directory, superuser password, port number, and locale> review the pre-installation summary and hit the next button to start Postgres installation. The entire installation process will take several minutes to install the Postgres database on your macOS. This blog post explained how to download, install, and use the Postgres database via practical demonstration.