
Numerous Postgres database connectors/adapters are available for Python, such as psycopg, py-postgresql, PyGreSQL, etc. Among them, the most frequently used connector/adapter is psycopg. But why is it so? Well! One reason is that it implements the entire Python DB API 2.0 specifications, along with thread safety. Moreover, it offers various features, including security, efficiency, allowing users to perform heavily multithreaded operations, etc.
This write-up will present a detailed overview of the psycopg: one of the most frequently used Postgres Python connectors. So, let’s begin.
Introduction to psycopg: PostgreSQL Python Connector
psycopg is a Postgres Python connector/adapter/driver that allows Python programs to access Postgres databases. It is the most widely used connector to perform various operations on the Postgres database via python programming. It offers numerous features, some of which are listed below:
- psycopg is fast and secure.
- It implements the entire Python DB API 2.0 specifications.
- The current psycopg 2 supports Python versions from 3.6 to 3.11.
- The current psycopg 2 supports Postgres versions 7.4 to 15.
- It offers thread safety, which means multiple threads can share the one/same connection.
- It can send/receive asynchronous notifications.
- Many Python objects can be adapted to database types, including lists-arrays, tuples-records, and dictionaries-hstores.
- Python objects can be adapted to and from Postgres json and jsonb data types via Pycopg2.
- It is extensible with new adapters for converting a Python object to SQL syntax.
- It supports COPY commands, two-phase commit commands, and large objects.
- It provides a nice interface to work with the Server-side cursors.
- Asynchronous communication.
psycopg provides a connect() function that helps us connect with the Postgres database. To access any feature of psycopg2, users must install psycopg2 on their operating system. You can install psycopg2 on any platform, such as Windows, Linux, or macOS. This blog post will teach you how to install psycopg2 on the Windows operating system.
How to Install psycopg on Windows?
Following are the prerequisites to install psycopg on Windows:
- Administrator/root privileges are required before installation.
- Enable “python.exe” from the Windows “PATH” settings.
Step 1: Open CMD
Go to the Windows search bar and search for "Command Prompt":

Click on the “CMD” app to launch it.
Step 2: Install psycopg2
Let’s run the following command from the CMD to install the “psycopg2” module:
pip install psycopg2

The “psycopg2” module has been installed successfully.
Step 3: Connect to Postgre Database Via Python
To establish a connection with the Postgres database via Python, firstly, the “psycopg2” module must be imported at the start of the project/program. After that, utilize the connect() function of the “psycopg2” module to establish a connection with Postgres:
con = psycopg2.connect(
database="example",
user="postgres",
password="cp12345",
host="localhost",
port= '5432'
)
In the above snippet, we utilized the following connection parameters:
- database: specify the database name to which you want to connect. For example, “example”.
- user: specify a user for authentication, e.g., “postgres”.
- password: provide the password of the respective database for establishing a connection.
- host: specify the localhost/IP address.
- port: provide the port number, or use the default port number, i.e., “5432”.
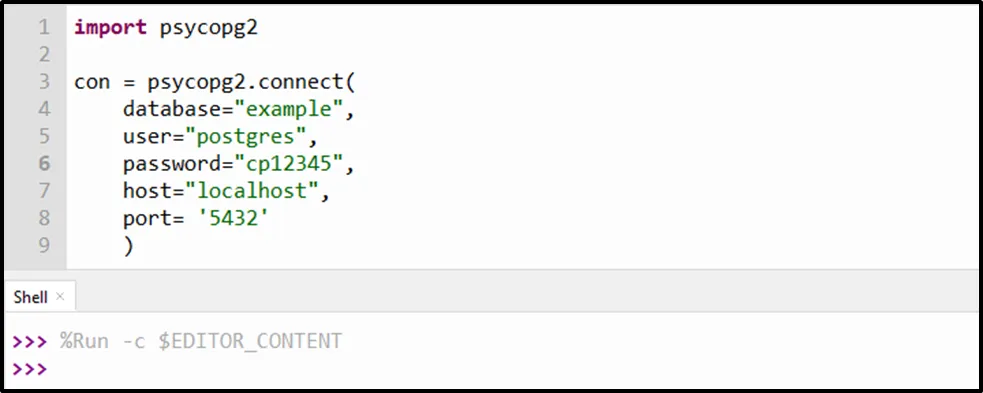
This way, you can connect with the Postgres database using Python programming.
Step 4: Perform Postgres Operations
To perform any Postgres operations, users must create a cursor object. After that, utilize the execute() function to perform any Postgres operation:
cursor_obj = con.cursor()
cursor_obj.execute("CREATE TABLE cp_tbl(article_id SERIAL PRIMARY KEY, article_name TEXT")
print("Table Created Successfully!!")
con.commit()
con.close()
In the above snippet:
- Firstly, a cursor object is created using the cursor() method.
- Next, the execute() function is used to create a Postgres table using Python.
- A message is printed on the output terminal via the print() function.
- Next, the commit() function is used to save the transaction changes/modifications.
- Lastly, the cursor is closed using the close() function.

The output clarifies that a table named “cp_tbl” has been created successfully. Now, we will execute the Postgres INSERT query using the execute() function to insert a row into the “cp_tbl” table via python:
cursor_obj.execute("INSERT INTO cp_tbl (article_id, article_name) \
VALUES (1, 'How to Use IN Operator in Postgres');")
print("Record Inserted Successfully!!")
con.commit()
con.close()
One record has been inserted into the cp_tbl table. Let’s fetch the “cp_tbl” data via the SELECT query:
cursor_obj = con.cursor()
cursor_obj.execute("SELECT * FROM cp_tbl")
result = cursor_obj.fetchall()
print("Resultant Data:", "\n", result)
con.commit()
con.close()
In the above code snippet, we utilized the fetchall() method of the cursor class to fetch all the records retrieved by the SELECT query:

This way, you can perform any Postgres operation using the psycopg adapter.
Conclusion
psycopg is a Postgres Python connector/adapter/driver that allows Python programs to access Postgres databases. It is the most widely used connector to perform various operations on the Postgres database via python programming. It offers various features, including security, efficiency, allowing users to perform heavily multithreaded operations, etc. To access any feature of psycopg2, users must install psycopg2 on their operating system. After installing psycopg, users can utilize the connect() function to make a connection with the Postgres database. This blog post presented an in-depth overview of the psycopg connector.

